How to paint stain and water-based urethane varnish
Today I will show you how to apply polishing powder, and how to paint stain. I tried to explain the steps and points with samples as many as possible.
Most visitors have searched this blog with words like “Watco oil” or “Water-based urethane varnish how to paint”. They must be in trouble painting like I was because there is less information on the web.
I have studied how to paint on wood by myself. And then I finally found paint that I can satisfy; “Water-based urethane varnish” or “Oil finishing”. On the previous posts, I focused on how to choose paints, and how to use Watco. Today’s post is a sequel to the first one. I focus on how to paint urethane varnish that I couldn’t tell before.
The most important thing of oil finishes is to choose wood. On the other hand, the most important thing on Water-based urethane varnish is the procedure. You can’t relax from the beginning to end.
Paints I use
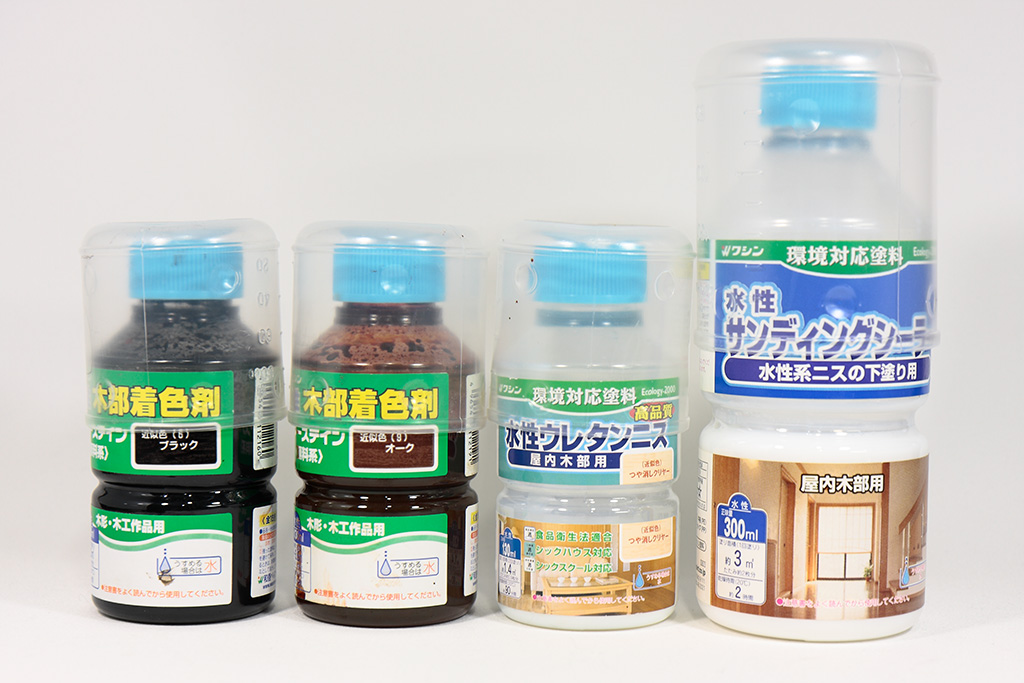
- Washin Paint “pour stain black”
- Washin Paint “pour stain ork”
- Washin Paint “polishing powder (yellow)”
- Washin Paint “polishing powder (red)”
- Washin Paint “sanding sealer”
- Washin Paint “Water-based urethane varnish (frost clear)”
Don’t buy Water-based urethane varnish with color. Those are for “upper grade.” See “A total beginner started to learn paintings for woodworking” for detail.
How to paint
- File with 120 grit sandpaper
- File with 240 grit sandpaper
- Apply polishing powder
- Leave for 20 minutes
- Apply polishing powder again if not enough
- Leave for 20 minutes
- Wipe polishing powder
- Paint stain
- Leave for 20 minutes
- Go back to painting stain until you wish
- Paint sanding sealer (or varnish after the 2nd time)
- Leave for 120 minutes
- File with 400 grit sandpaper
- Paint varnish at least 2 times
The time to wait is minimum length. You cannot wait too long when you paint. Now let’s see the detail.
Filing is a part of painting
Filing controls the result of painting. If you don’t file properly, the result can’t be better.
Because wood sold in stores has enough flat faces, you can start filing with 120 grit sandpaper. (See “The beginner is oil-finishing with Watco” for sandpapers.)
I use an electric sander. It lets me pay attention on how the result should be. On the other hand, because I have to concentrate on moving hands, I can’t do that. If you DON’T use an electric sander, you should add 80 and 320 in between. (Use 80, 120, 240, and 320 in this order.)
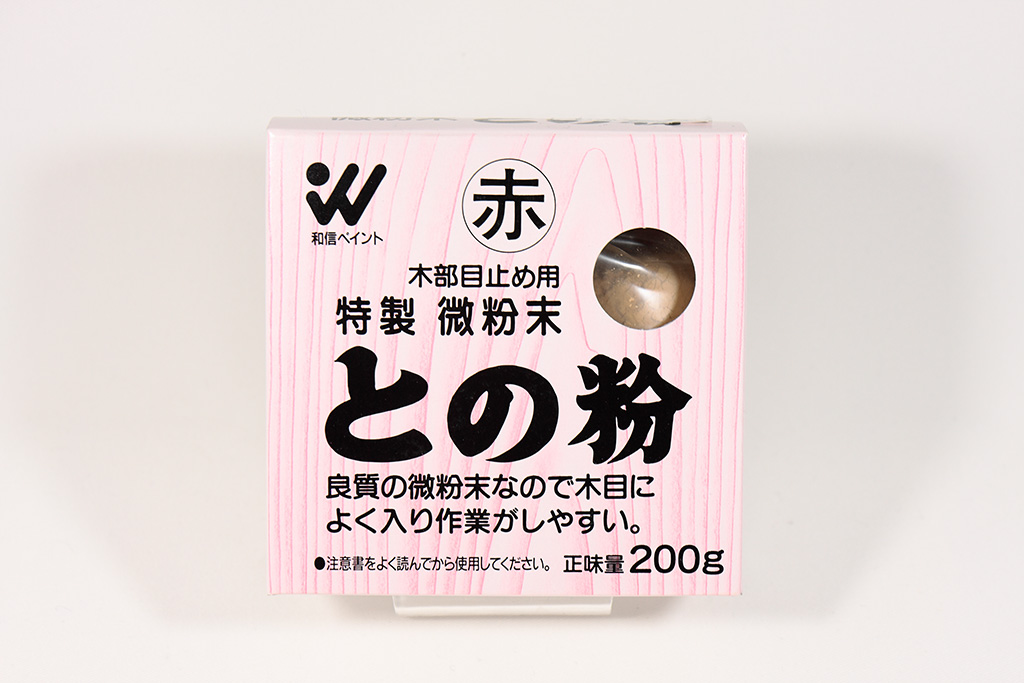
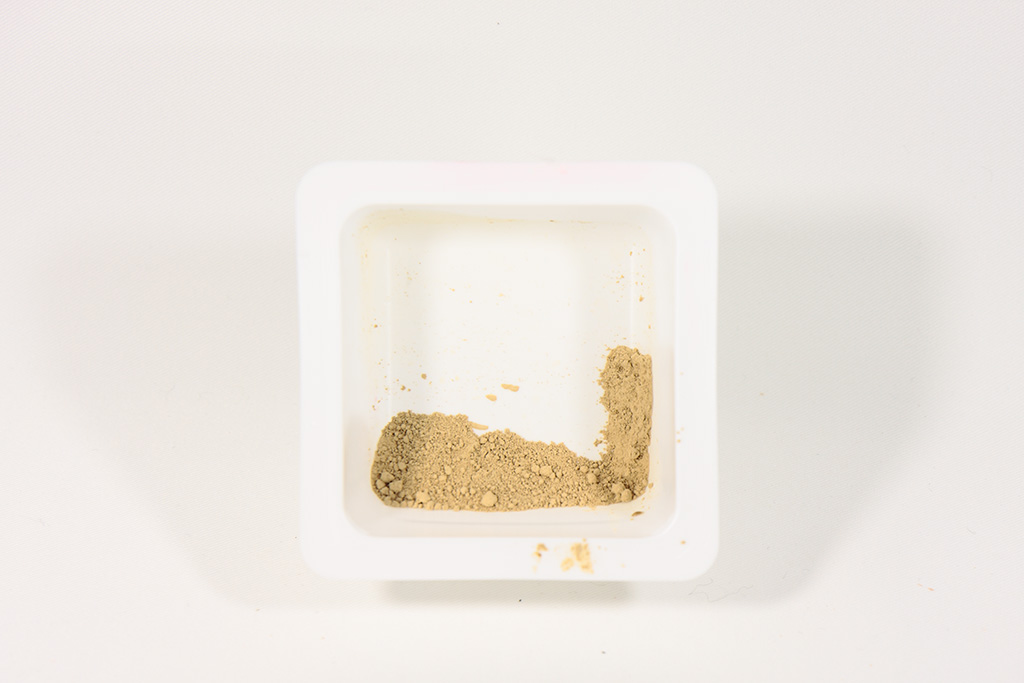
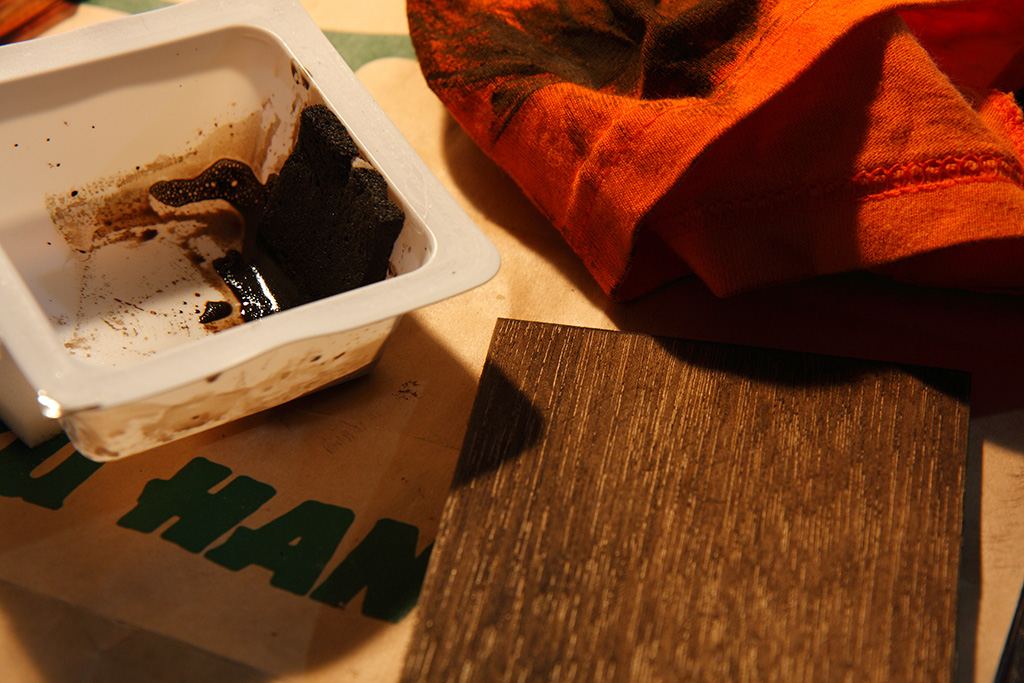
Polishing powder and vessels
Polishing powder is a paint to fill vessels. Vessels are hollows on the surface of wood.
I didn’t know what polishing powder is for. I have searched the results with and without polishing powder, but I couldn’t find any result. There was no choice but doing by myself. I must be the first person who gives this information. J
Polishing powder is “powder”. You have to add water on the ratio of 1:1 to make mud and then paint. The instruction says “You can mix the polishing powder with stain on 1:1”, but I found this causes uneven color. All paint here is based on polishing powder with water on the ratio of 1:1.
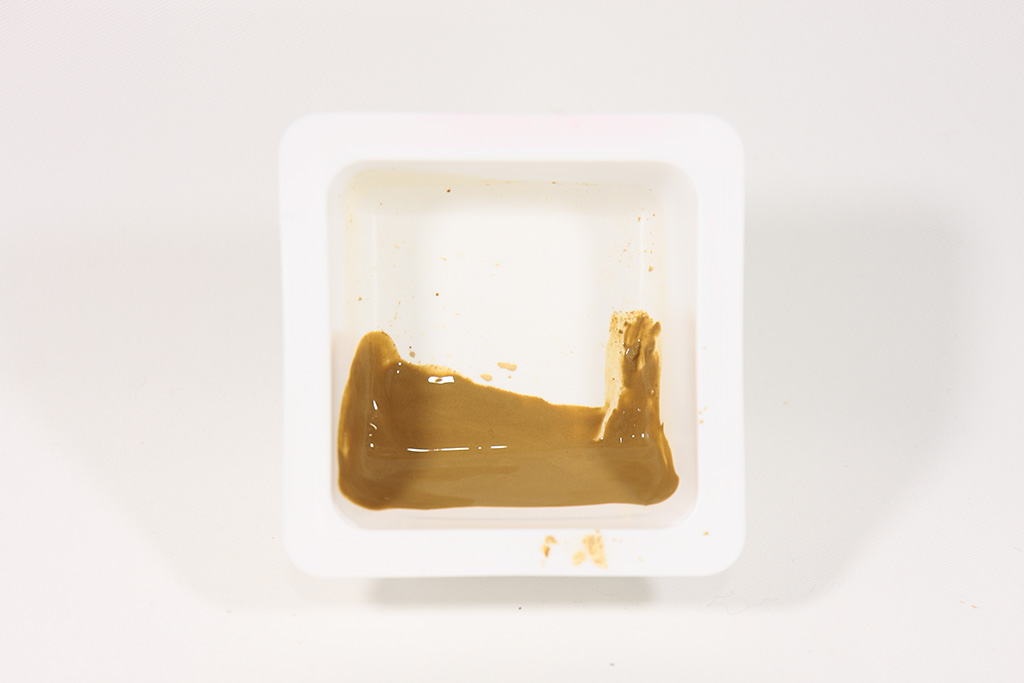
If vessels remain, apply polishing powder again.
After you apply polishing powder, wipe it with cloth. Don’t scrub. Just sweep. Because power keeps coming out, I use a vacuum cleaner too.

How to paint stain
I mixed Washin pour stain black and oak on 1:1 because I wanted color shown in the post, “The beginner is oil-finishing with Watco”. My goal is brown close to black.
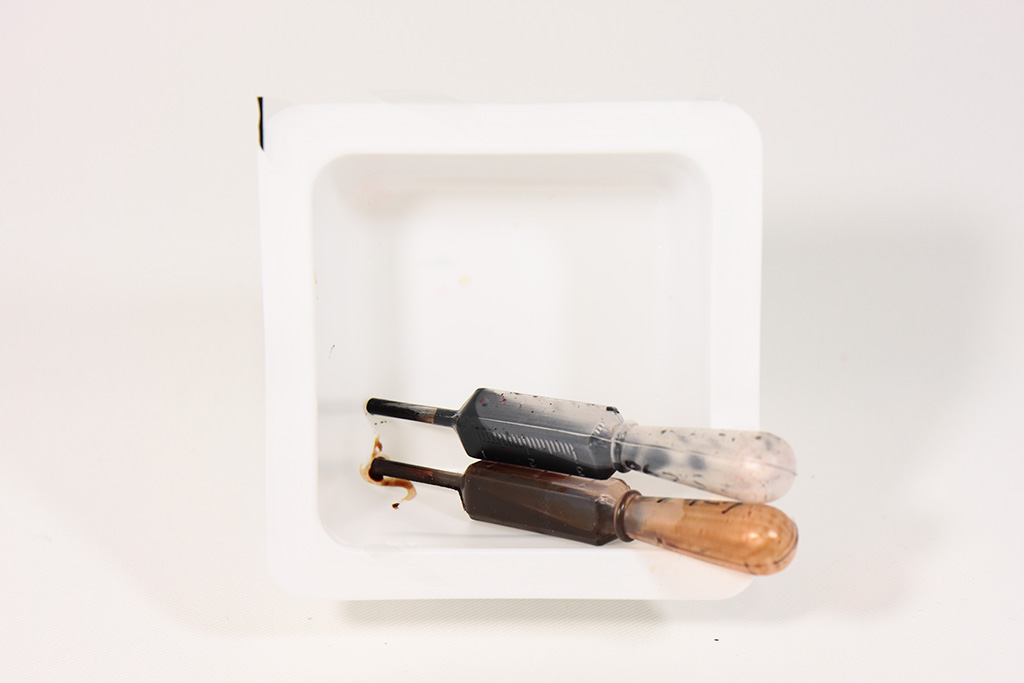
I use sponges for kitchen cleaning to paint stain. (Blushes for Water-based paint are generally used.) I use the one called eraser. Because it can be cut smoothly with a knife, it exactly touches the surface of the wood. It also absorbs paint well.

Painting stain is rather coloring than painting. Therefore, don’t leave it after painting. Wipe the wood 30 seconds with cloth. Don’t scrub. Move cloth one way. It is like wiping and spreading at the same time.
What is sanding sealer?
Sanding sealer is foundation of varnish. They look same in appearance, but how they spread and the touch after you paint are different. Sanding sealer spreads better than varnish. This means sanding sealer is paint easier than varnish. When sanding sealer dry, the touch is smoother than varnish.
How to paint is the same with varnish.
How to paint Water-based urethane varnish
The most important thing is not to paint again. More precisely, paint varnish within a few minutes. Unless you finish painting for this long, the result doesn’t affect.
To finish painting within a few minutes, you have to paint delicately without hesitating. There are 3 points; choosing brush, moving brush, and spreading varnish.
Use a brush for varnish. If you use this brush, varnish spreads as you paint. If you use a brush for water-based paint, varnish doesn’t spread so much. The brush could even make stripe marks.
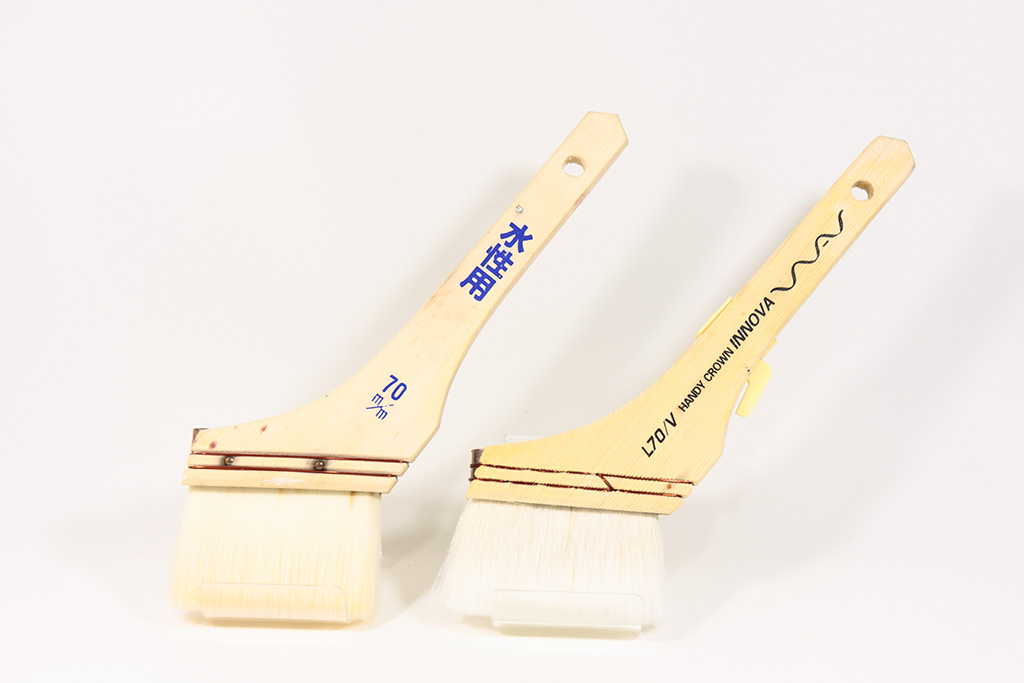
The one on the left is for water-based paint. The one on the right is for varnish.
Move your brush always toward one direction. If you decide right to the left, don’t go from up to the bottom. Try to reduce surface tension. To paint from right to the left, put your brush a bit from the right edge, move the brush to the right edge first, and then turn the brush, and move the brush to the left edge. This will avoid varnish gathering near the right edge.
Spreading varnish is literally “a blind spot”. Even the brush passes once, there is unpainted area. You can tell whether you paint well or not only from reflection because varnish is transparent! If you paint on a bright color, you can tell easily. If you paint on a dark color, you cannot tell easily. If you say “No way”, paint varnish on a dark color in a dusky room. You will see.
Painting varnish is difficult because varnish gets dry within a few minutes. And then you might not move your brush smoothly. At that moment, the surface should be uneven. Once this happens, you might not fix. Well, you might fix it by filing very gently, but I have never been able to fix. “Not yet means already, and already means not yet.” A proverb of trading can be said on painting. 😉 To avoid this, sanding sealer is something you must paint.
Surface adjusting
After varnish dries up perfectly, file the wood with 400 grit sandpaper. The word “wipe” is more precise. Wipe once or twice like as if you stroke. The touch becomes smooth immediately. Don’t wipe anymore or you will shave the paint.
Sample numbers
I tested these combinations.
|
Material |
Plane |
polishing powder (yellow) |
polishing powder (red) |
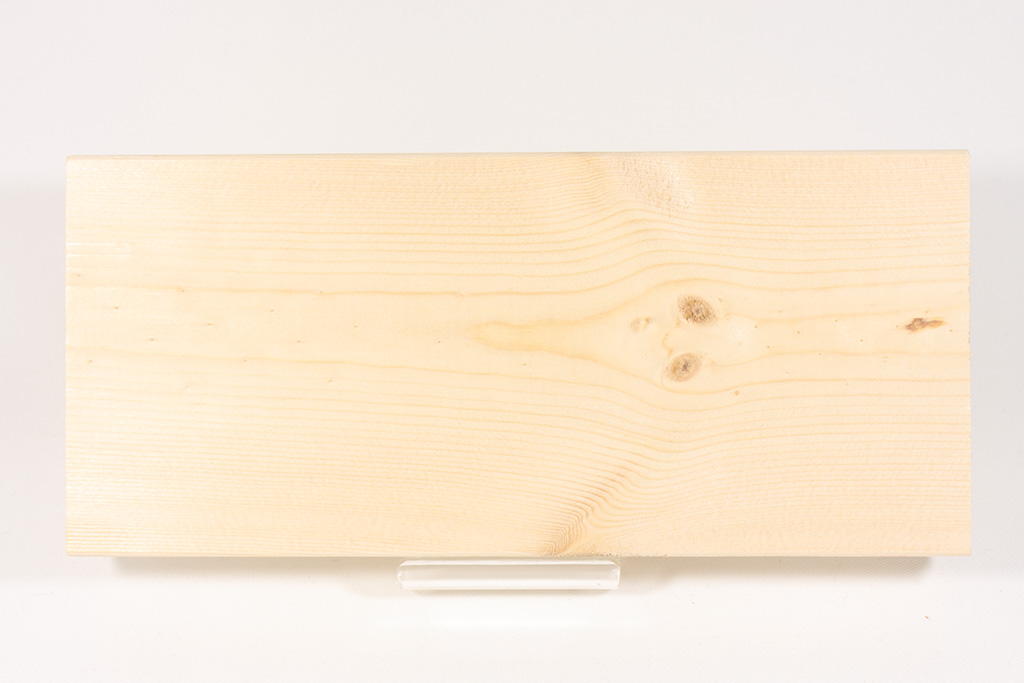
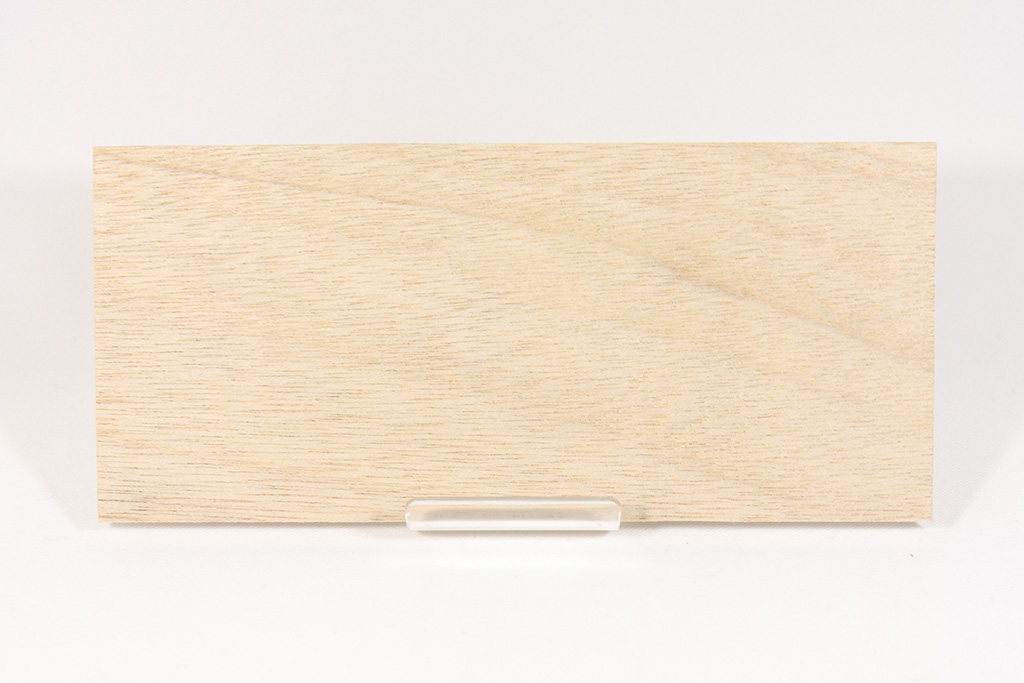
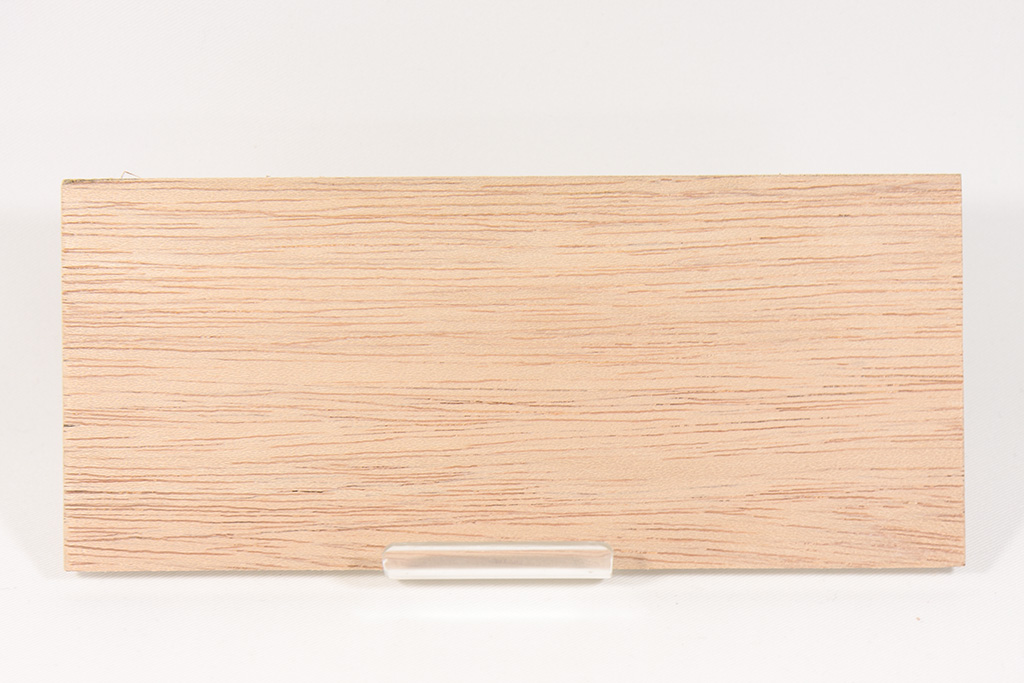
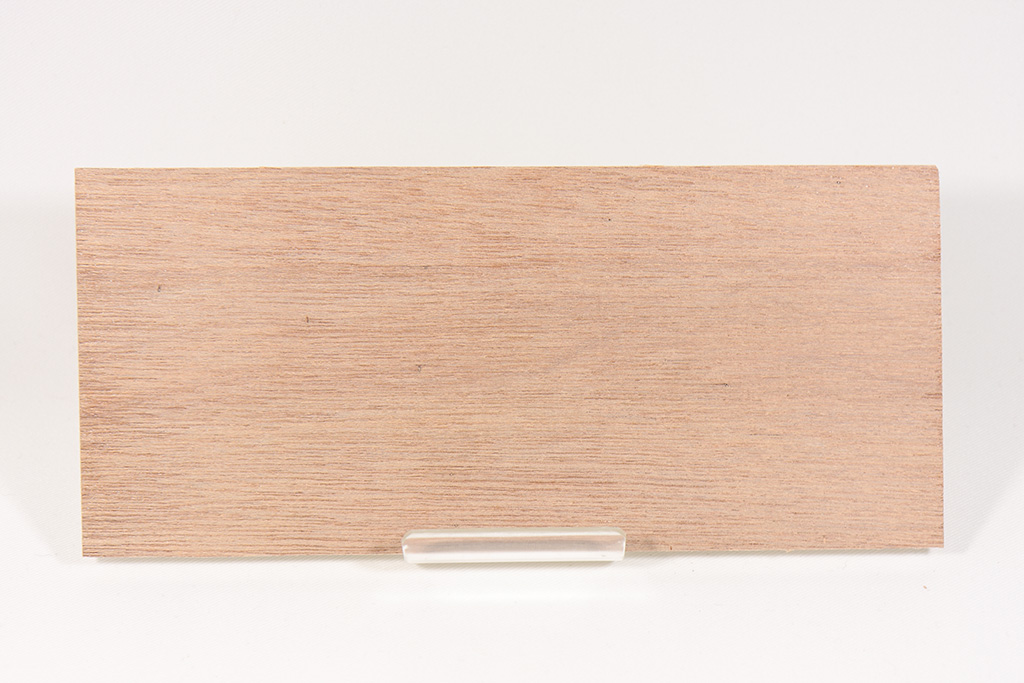
| SPF | 1 | 4 | 7 |
| White lauan | 2 | 5 | 8 |
| Red lauan | 3 | 6 | 9 |
There are white lauan and red lauan. You should pay attention when you buy lauan at stores. They sell two lauan together.
10 is an example of polishing powder (red) on specially dark red lauan.
Be noticed that I used “Water-based urethane varnish (gloss)” instead of “Water-based urethane varnish (frost clear)” on example 7 to 10 by mistake.
These pictures are color-matched. In short, if your monitor is properly color matched, all my paint, pictures on my monitor and pictures on your monitor should be in the same color. Well, “in theory”, though.
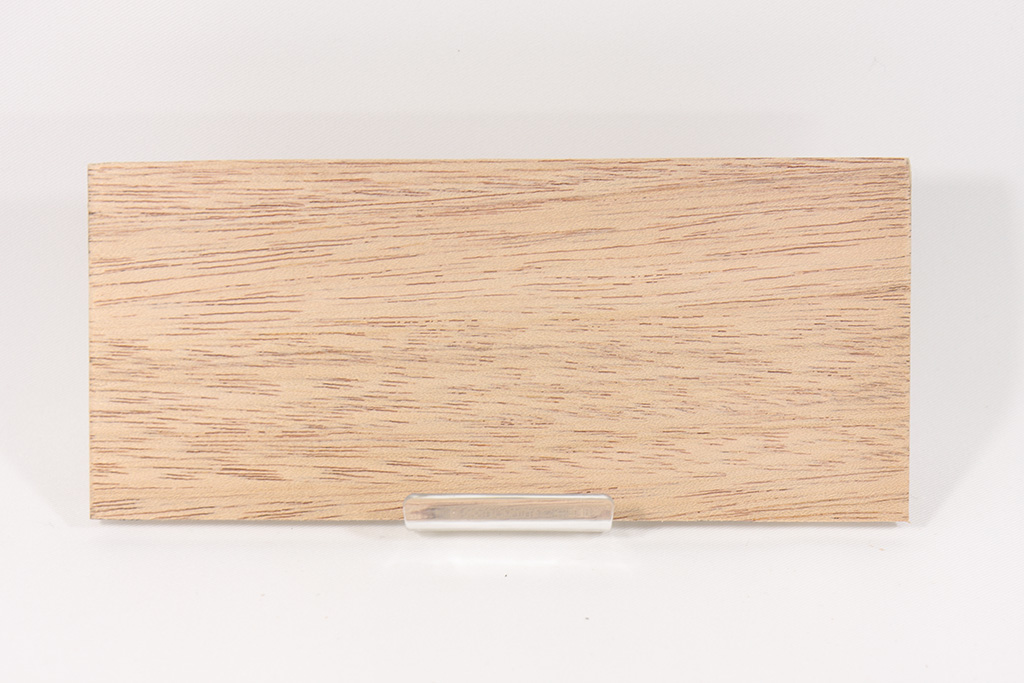
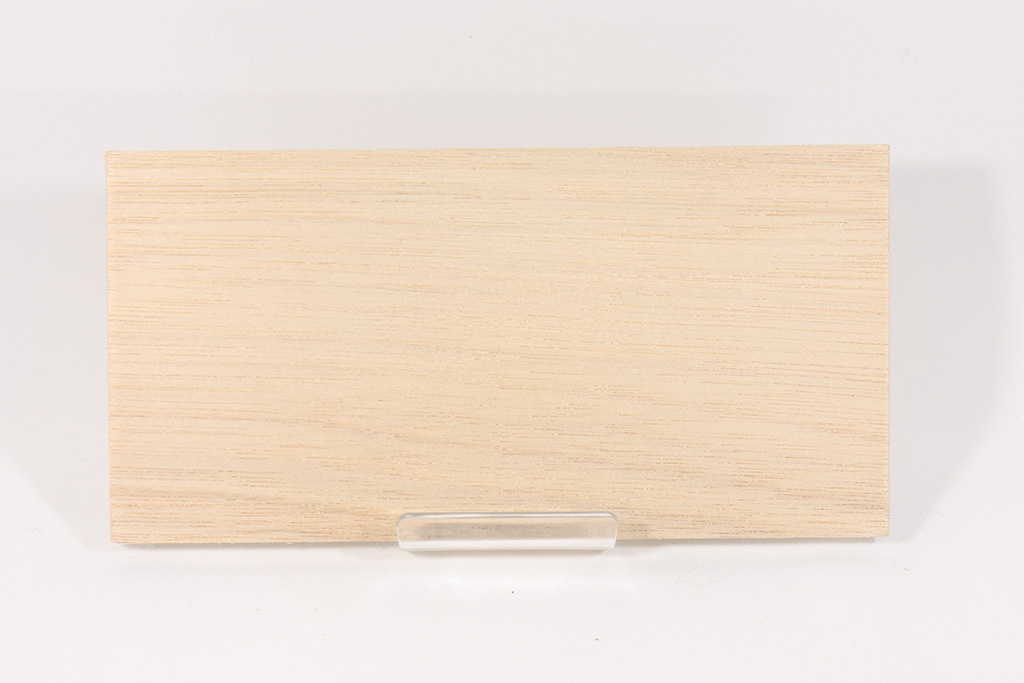
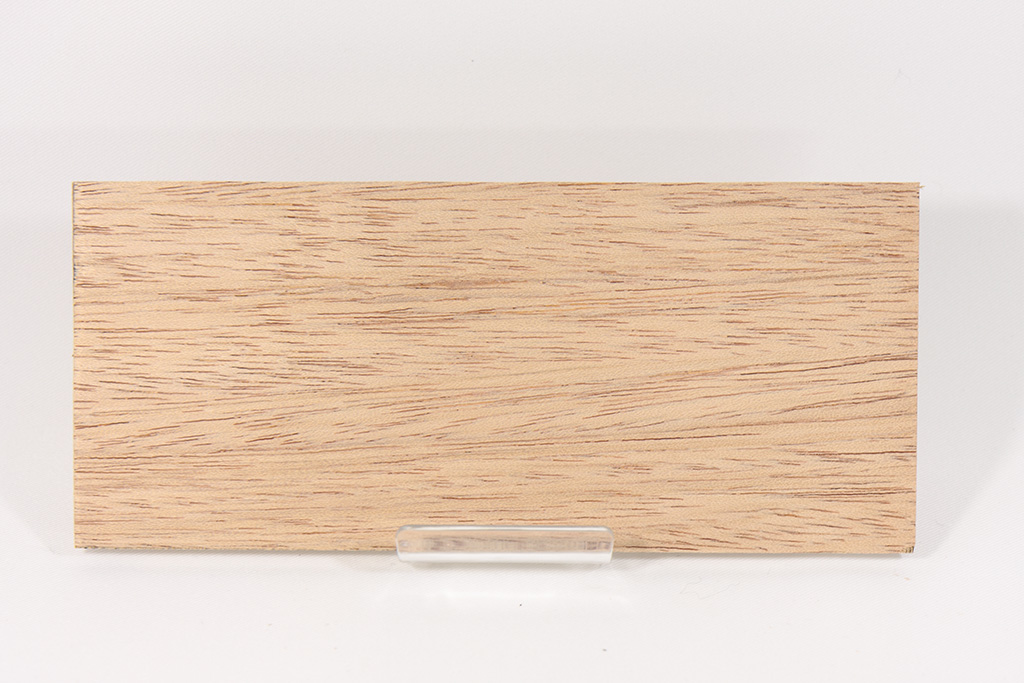
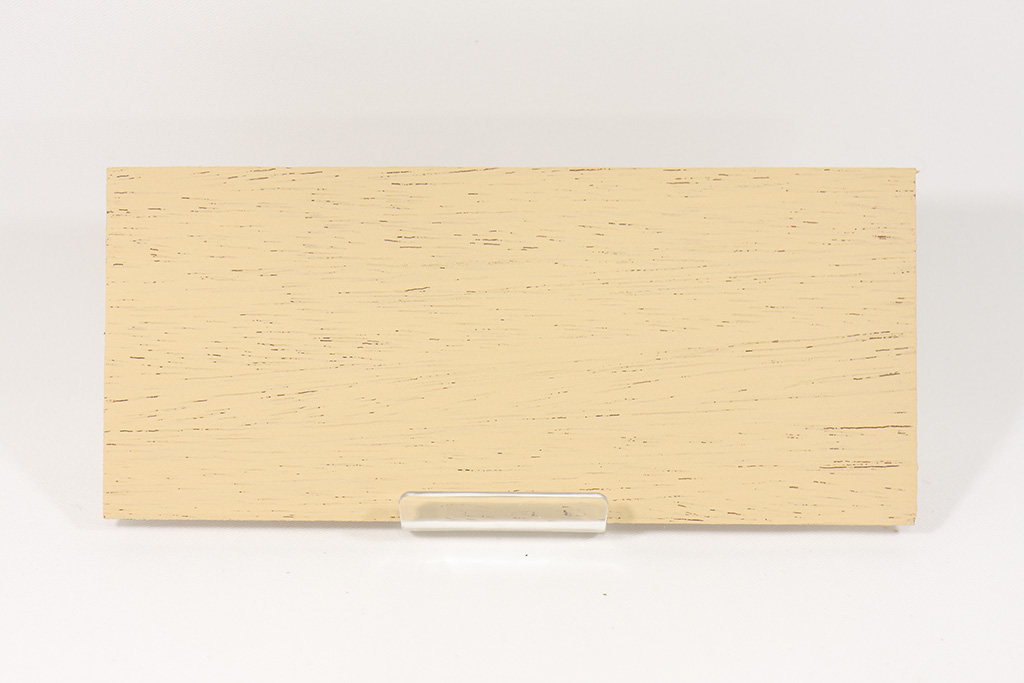
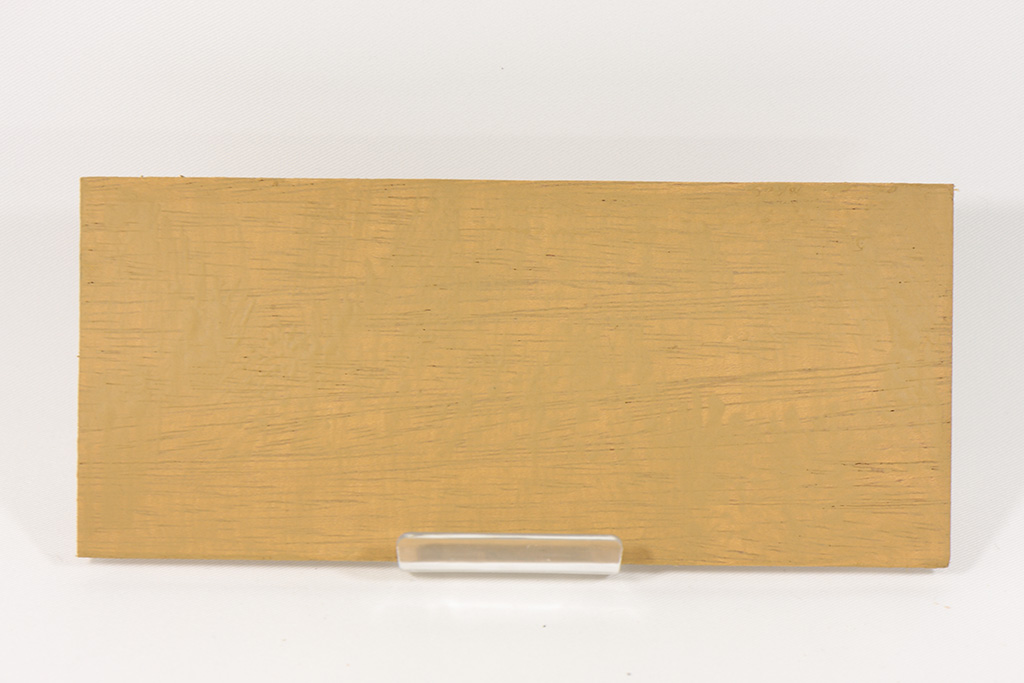
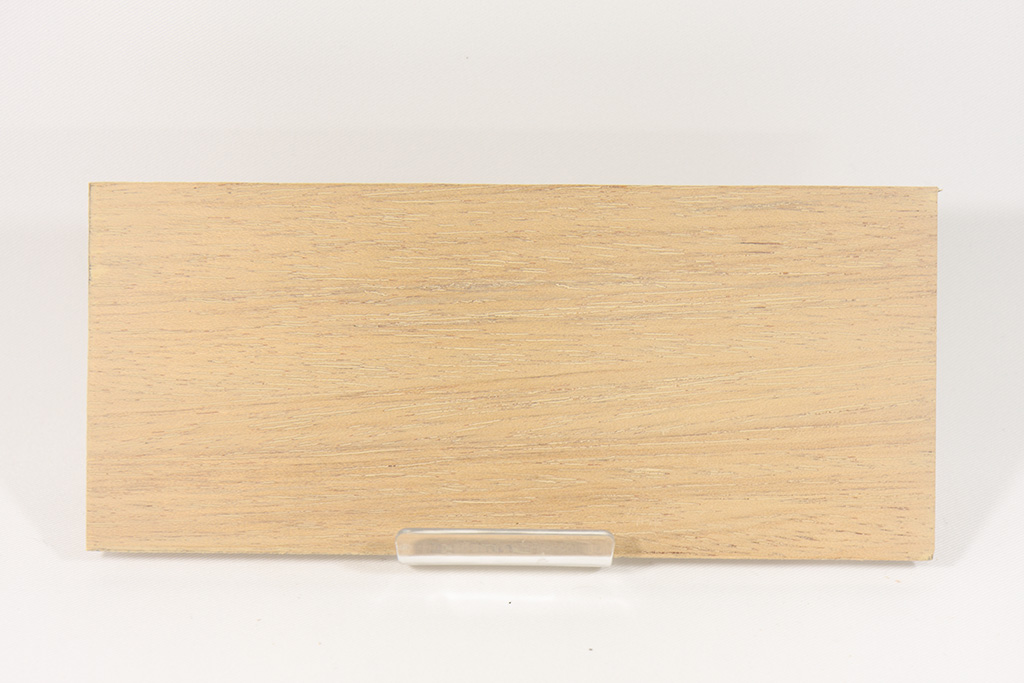
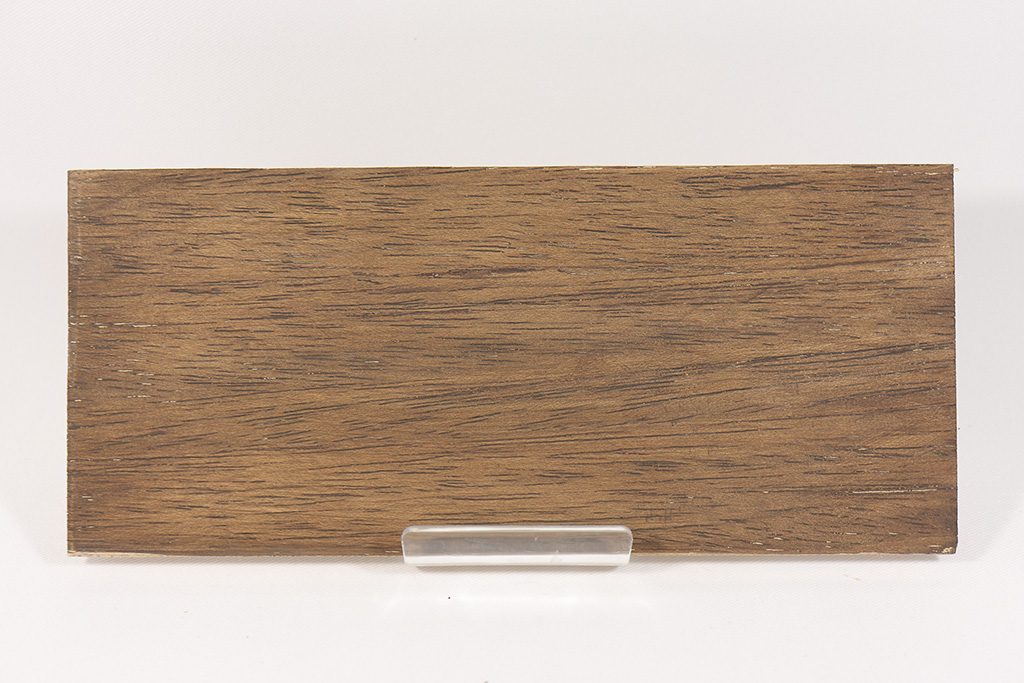
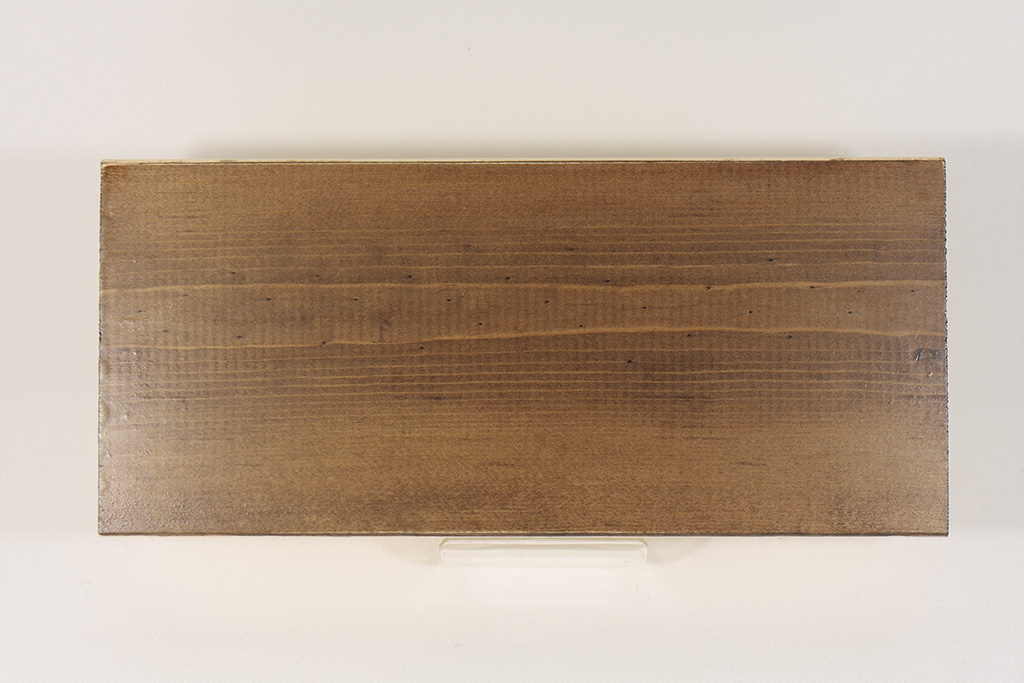
Wood after filing with 240 grit sandpaper
1
2
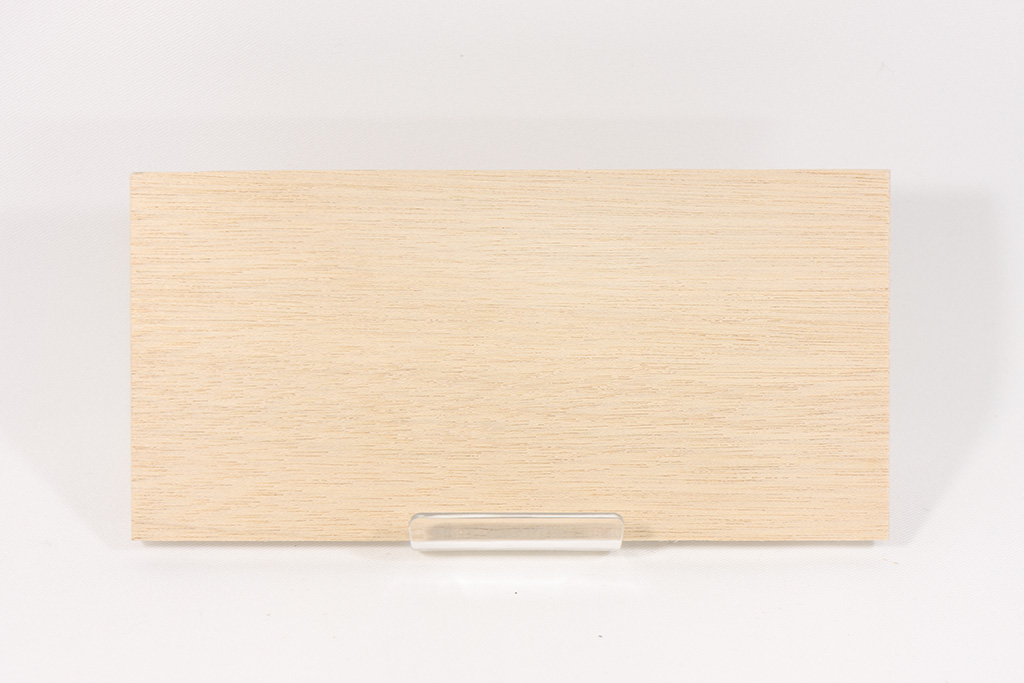
3
4 I forgot to take a picture.
5
6
7
8
9
10
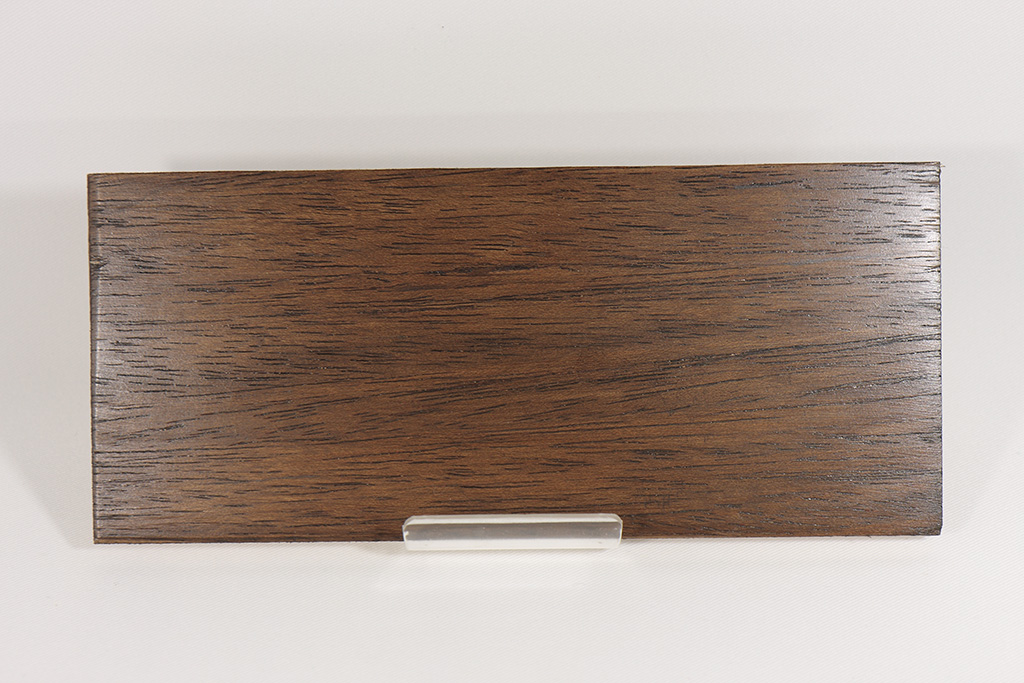
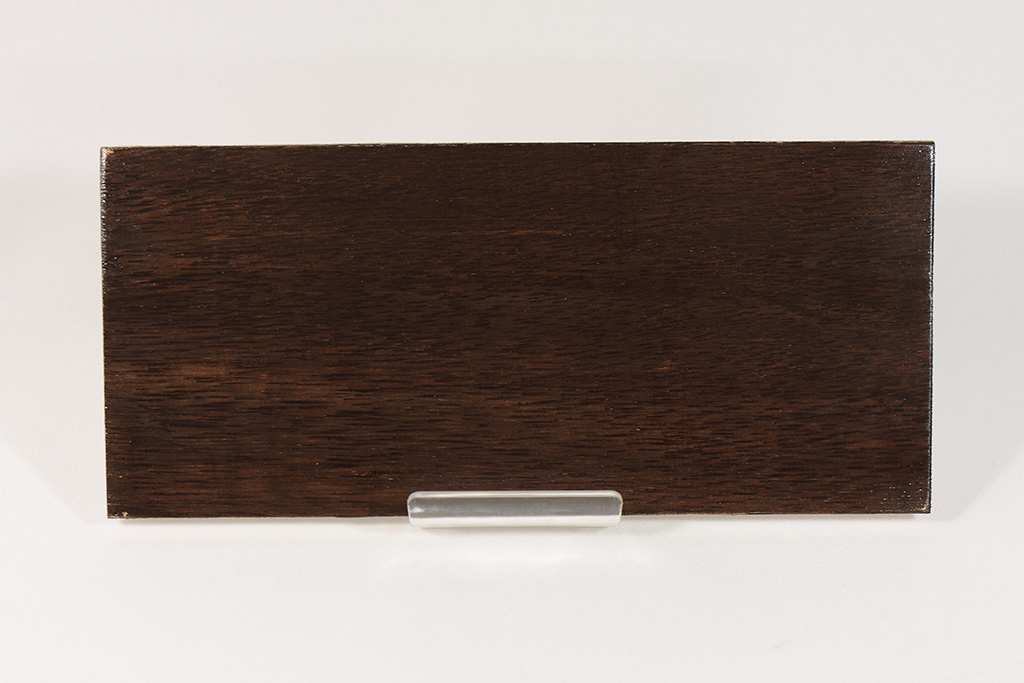
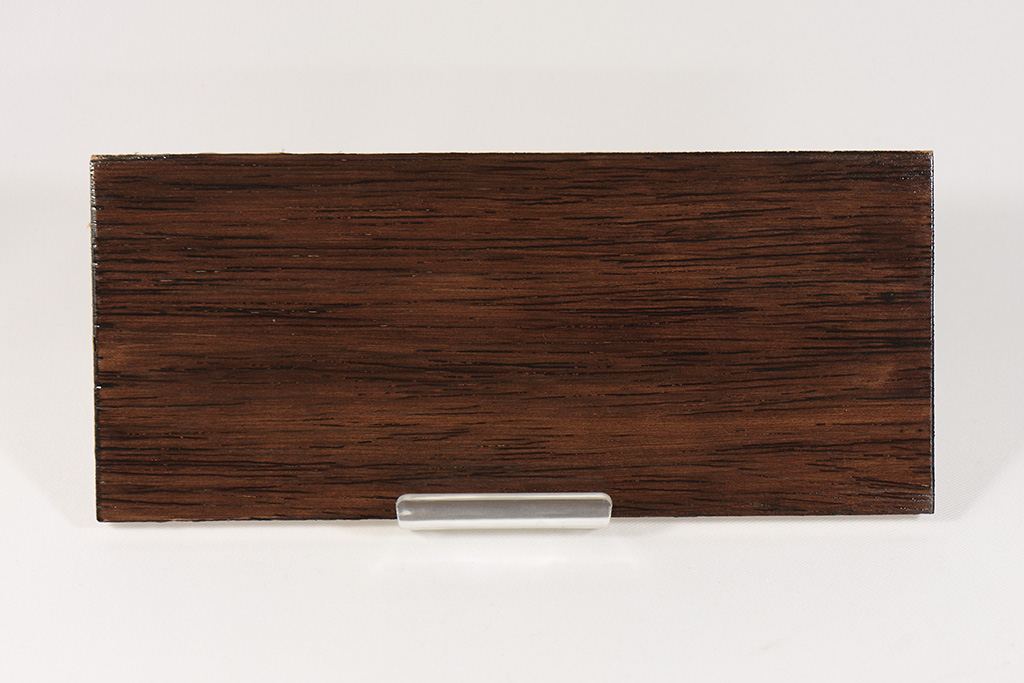
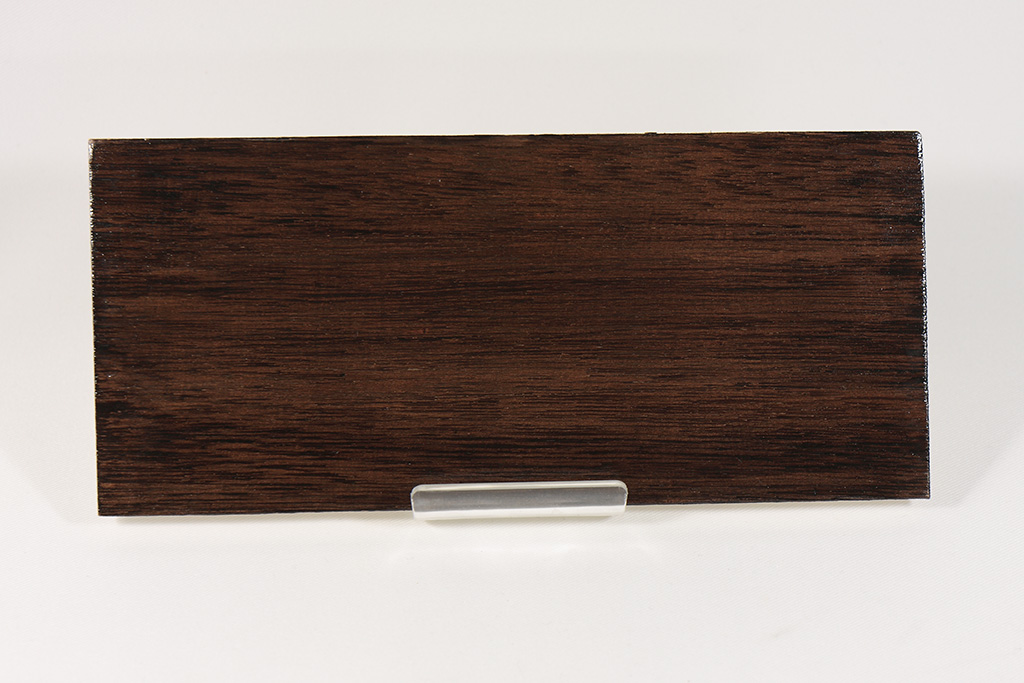
Sequential Examples of Work No.6
I omitted other works because they change the same way.
Applying polishing powder for the first time
“Vessels may remain” means this.
Applying polishing powder for the second time
Wiping polishing powder
Painting stain for the first time
Painting stain for the second time

Painting sanding sealer
Painting varnish for the first time
Painting varnish for the second time

All works after painting varnish for the second time
1
The color didn’t turn in my favorite one.
2
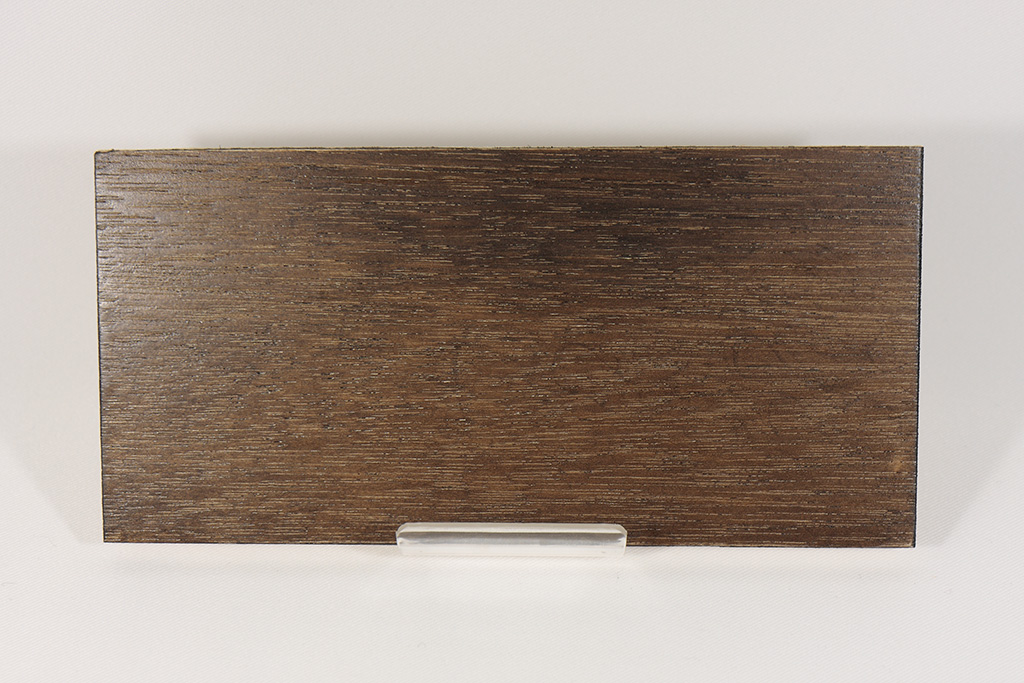
I feel the color is dirty. I don’t think black stain and white lauan go well. Brown stain may go with white lauan.
3
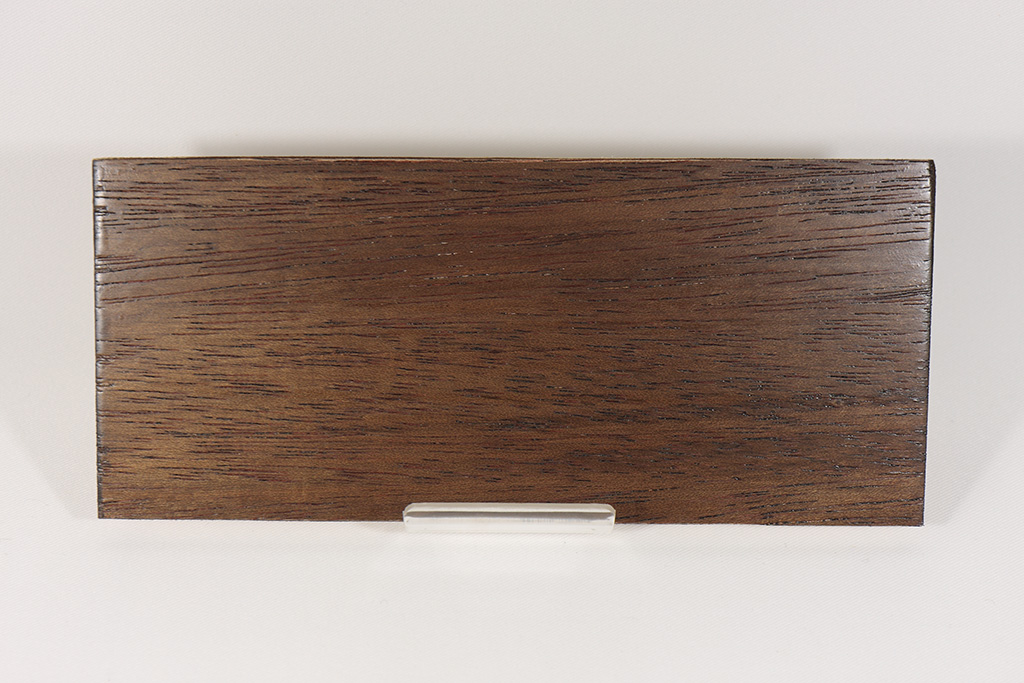
The color is fine. Can you see white vessels in middle? The stain didn’t go in there. This is why we use polishing powder.
4
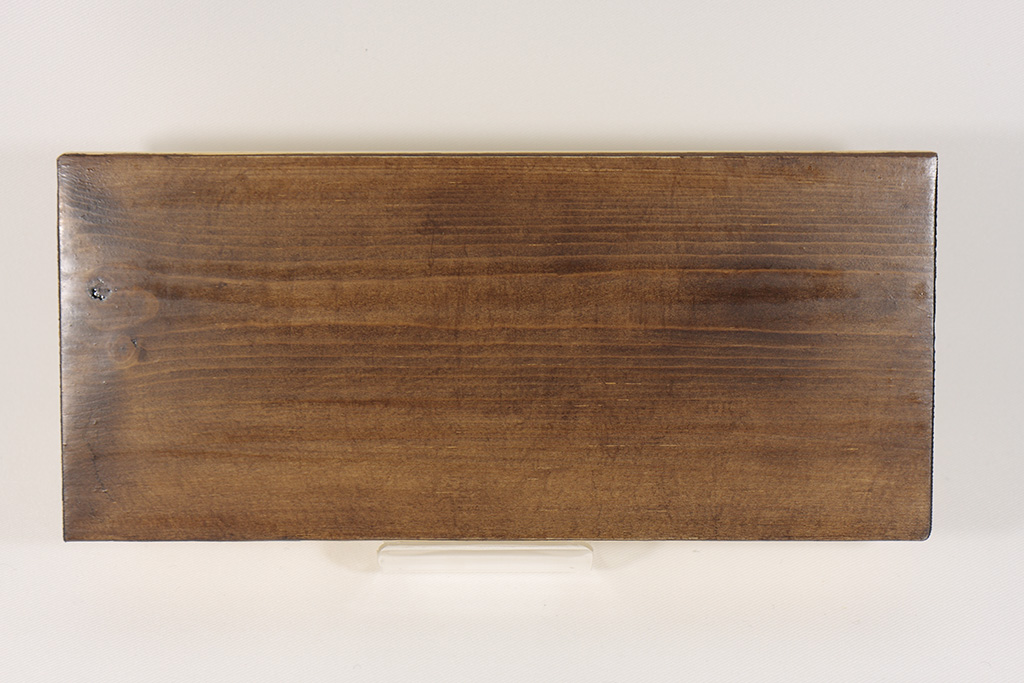
No. 4 looks like No. 1. The marks on the vertical directions are made because I added too much power when I file. The deep marks on the horizontal directions are made because I put too much varnish on my blush.
5
The color is not that bad. What I said on No. 4 can be said to No. 5.
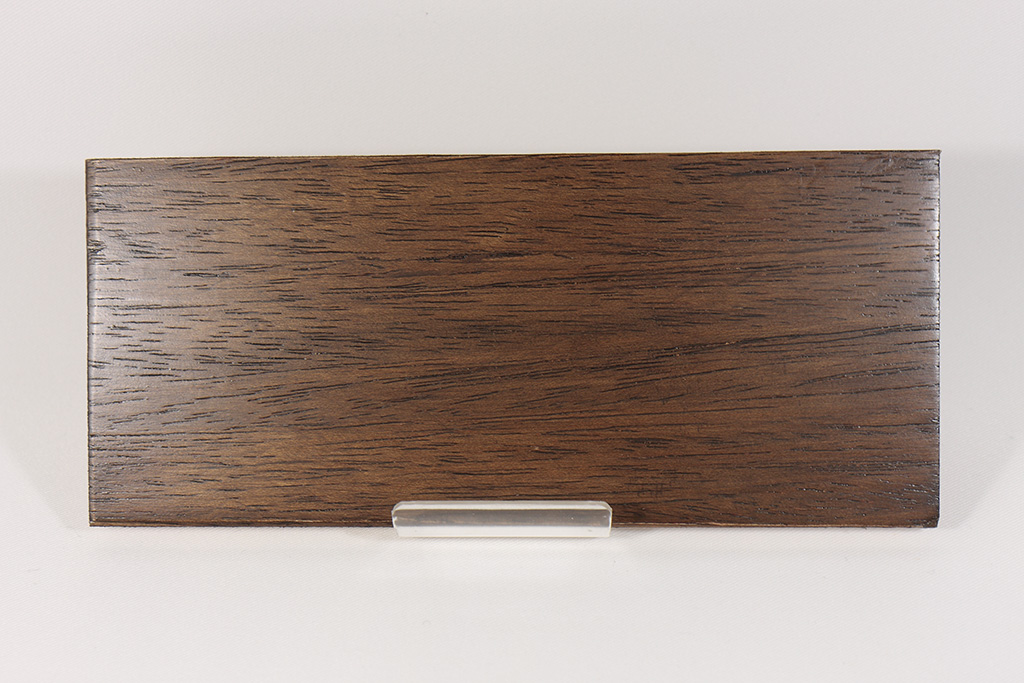
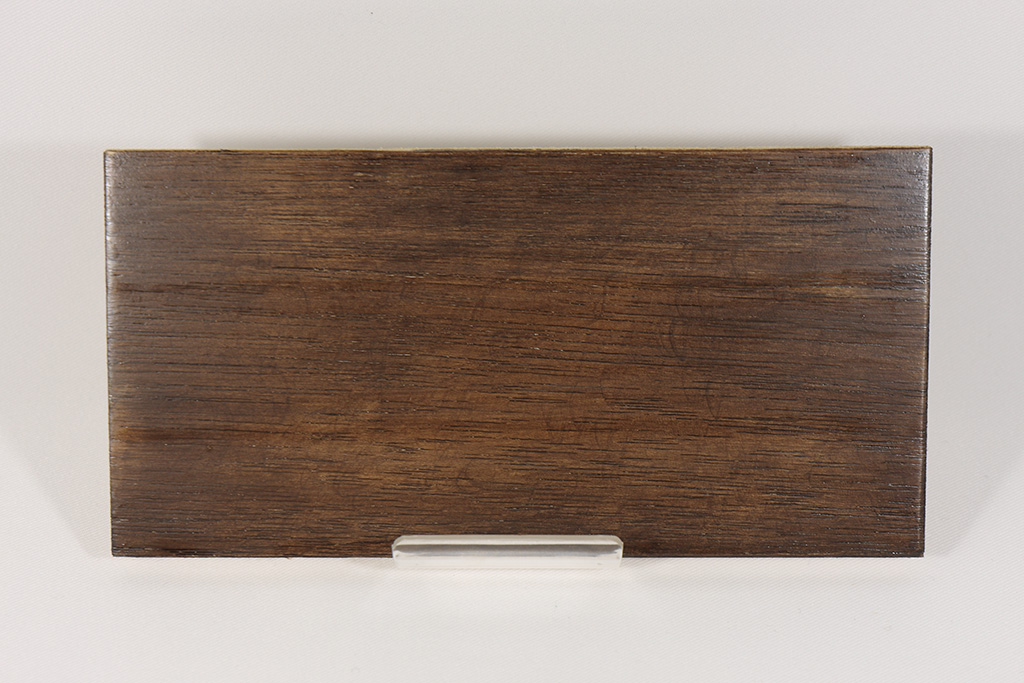
6
This is my favorite 😉
7
I don’t like the color so much. I made some scratches too. Bruce Lee will say, “Don’t file. Wipe!” 😉
8
The color is partial. Is this black or brown?
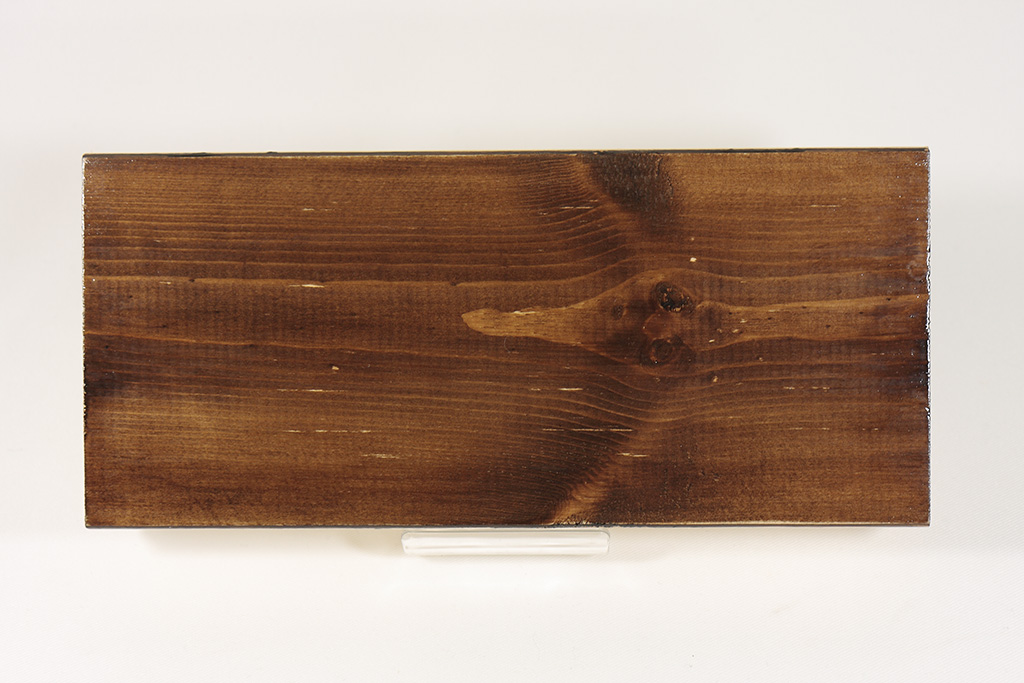
9
This is my favorite too 😉 The vessels give expression to wood very well.
10
The color is more darker than No. 9. This is my favorite too 😉
If you are interested in this post, check all posts of “Painting.” For example, I posted these articles.
- The beginner is oil-finishing with Watco
I found Watco by chance in the store. I thought the word “oil finish” sounds like craftsman-like, and something craftsman-like would make goods better, which was a lighthearted attitude. - A total beginner started to learn paintings for woodworking
As I processed Raspberry Pi cases and dimmer, I thought using wood would be a good idea because wood can be bought easily at fewer prices. Also making furniture is one of my goals. This is why I started to learn paintings. - Making and studying an Akizuki Triac Dimmer (speed controller) and case processing
I made a “multi-purpose dimmer with a triac” sold at Akizuki Denshi. There were many troubles because I am a beginner. I needed not only to solder but also making new holes on the circuit board and process a Takachi case.
This post is also available in: Japanese
Leave a Reply