Electronics with Raspberry Pi Vol. 2
I couldn’t understand what current, resistance and voltage meant, but having spent money (aka investment 😉 ), I’m getting to understand what they mean.
On the previous post, “A total beginner started to learn electronics with Raspberry Pi”, I have introduced how I found Raspberry Pi and how to turn on an LED. Today, I’ll introduce what other devices there are.
Light-Emitting Diodes (LED) [Wikipedia]
I thought “diodes” equaled to LEDs, but it was not correct. Diodes are devices that let current flow only one way, and LEDs are just one kind of diodes. There are other diodes: simple ones only let current flow, and ones that make current when they percept light.

From bottom left,
- LED lamp(5mm)
- LED lamp(3mm)
- RGB LED lamp(5mm)
- Infrared LED lamp(3mm)
- Ultraviolet lamp(3mm)
- Photodiode
- Seven-segment display (LEDs on the rear row)
LED lamps
LED lamps are diodes that convert electricity to light. A simple one flashes in red, and a RGB lamp can flush in red, green and blue in whatever ratio you wish. You can make a screen by putting them together! Look at the score board in the bowling game.
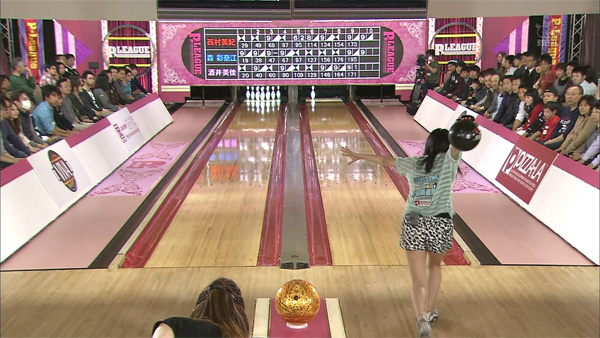
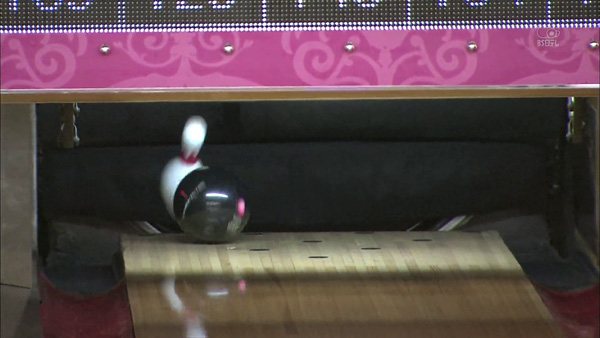
Good shot! But look at the score board above the bowl. Each dot is an LED lamp.
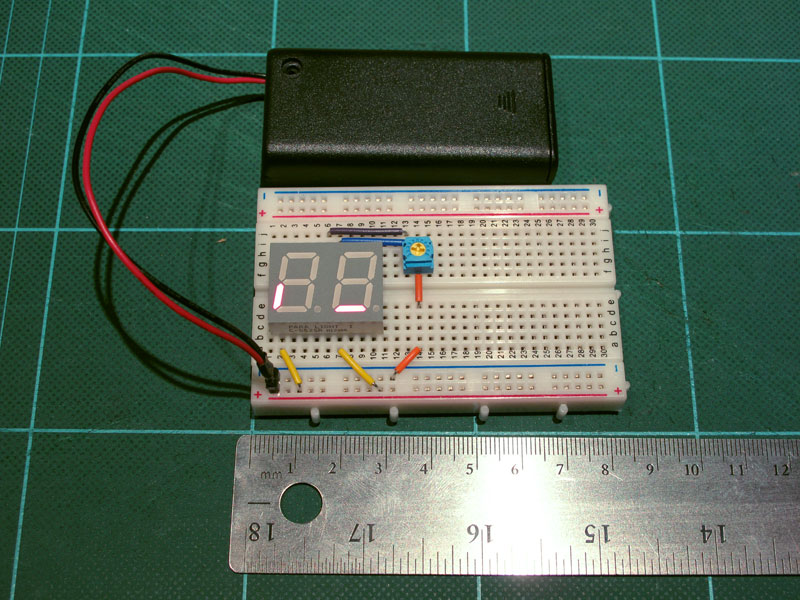
The LEDs with number is called a seven-segment display. As the name indicates, one number is made from 7 LEDs, and you can flash them individually by turning on electricity. The picture shows the result when I turned on electricity to each segment. (one left, one right)
Photodiodes works oppositely. They convert flush to current. They can convert the color of light and how much the light is strong. The one in the picture is an S6775 made by Hamamatsu Photonics. I have learned that it can convert even radiations to current. Actually, radiations are just a part of light that we can’t see. And the word “light” means “visible spectrums” that is just a part of electromagnetic waves. Electromagnetic waves contain, in the order of large frequency, radio waves, inflated rays, visible beams (red, green and blue), ultraviolet rays, and radiations (X ray and others). See Visible spectrum.
The instruction of S6775 says it can convert electromagnetic waves between 320 nano meters and 1,100 nano meters. On the other hand, X ray is between 0.001 nano meters and 10 nano meters, which is out of range. Considering there are radiation checker with S6775 sold, I guess S6775 may responds to radiation even it is not defined in the instruction. I found an article that can be cited on CQ ham radio QEX Japan No.1, Page 53.
General photodiodes are sensors that perceive inflated beams and visible spectrums. In addition, they have a little sensitivity of gamma ray. But even so, sensitivity is low because the band is out of the original purpose. We divert a photodiode to a radiation detector by amplifying its low sensitivity.
Liquid-crystal display (LCD) [Wikipedia]
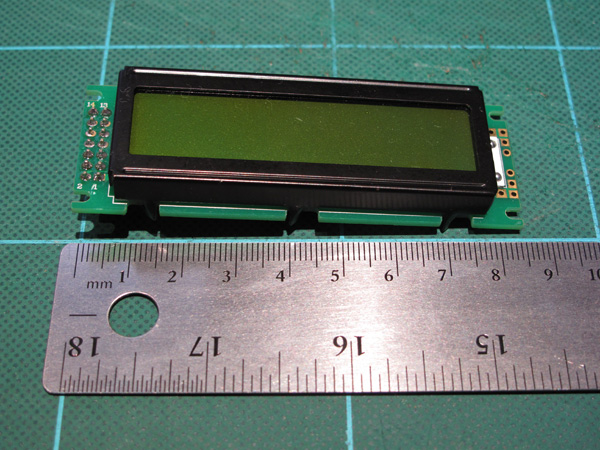
This is a device to print characters. We are surrounded by them, aren’t we? This is very common as a display connected to computers. For me, displays are more than electronic devices. They are “paper”. Well, this LCD is too small to work as paper, but it is still an must-have device to convert electricity to characters.
All the LCDs that I have seen say “SC1602 Compatible”. SC1602 is an LCD developed by SUNLIKE, a Taiwanese company. Compatible means the way to drive is same. You can replace it to other LCDs and drive without modifications. In Japanese electronics, SC1602 seems de-facto standard. I haven’t seen any other LCDs that are not SC1602 compatible.
To drive SC1602, you need to add voltage with GPIOs. The order to add voltage (protocol) is written on many sites. I referred to the Nikkei Linux (March 2013). The magazine introduces only a part of all the functions, but you can output characters.
Speaker [Wikipedia]
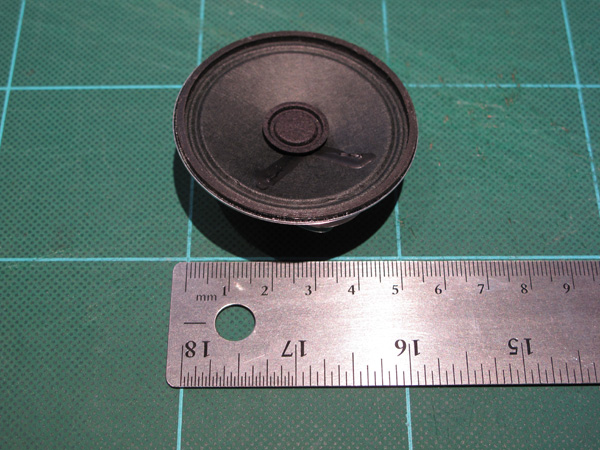
Well, everyone knows speaker, don’t you think? But I have never thought speakers are electronic devices. And I didn’t know how to make sounds through my speakers because I could use them by just plugging. Yes, we can live without this knowledge, but it may profitable for people especially who love music to know how speakers work.
To drive a speaker, you need to add pulses I mention later. To play an “A”, you need to
- Add voltage for 1,136 milliseconds (0.001136 seconds), and
- Reduce voltage for 1,136 milliseconds (0.001136 seconds)
for 440 times. If you are familiar to music, you may realize this number (440). This is frequency of “A”. The definition of frequency is how many sets of ON and OFF for one second. More precisely, frequency is not a unit of sound. It is a unit to describe how often the two phenomena change in one second. (In addition, dB is not a unit of sound.) By the way, 1136 is asked by 1(second) / 440 (times) / 2.
A speaker has a coil. The coil shakes when it has electricity, and vibrations are transmitted to the air through a corn. In the procedure above, the air vibrates for 440 times, which we defined an “A”.
By the way, if you decrease 1136 to 568, and increase 440 to 880, you can get an octave ”A”. In addition, we assigned other notes between 440 to 880. If you divide the frequency equally into 12 (more precisely, into an equal ratio), you can get a set of A, A#, B, C, C#, D, D#, E, F, F#, G, and G#. This way to create notes is called an equal temperament.
Equal temperament is not the only temperament. There are other temperaments in ages and regions.
Microphone [Wikipedia]
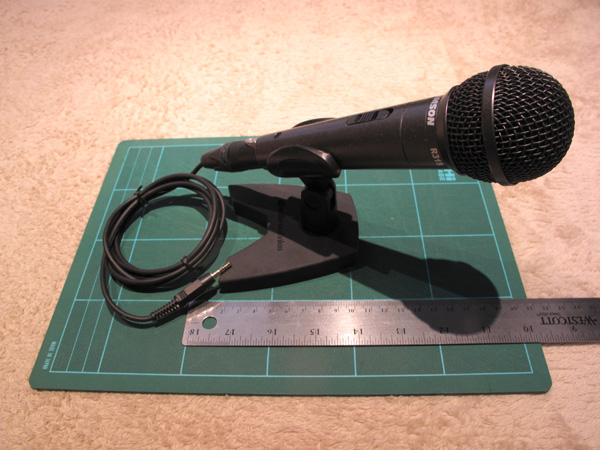
Another no-need-to-explain device. Isn’t it interesting way to take a picture, is it? They are all on the same “field” and very good inventions that use electricity.
Microphones work in the same way as speakers. Air vibrations shakes the coil and it generates electricity. You may input it via GPIOs, but I don’t know how yet.
Fan [Wikipedia]
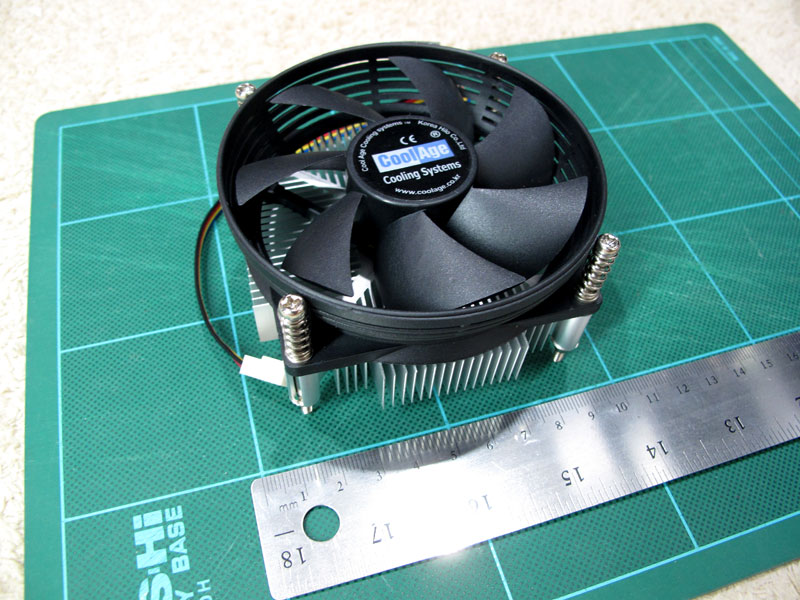
Fans convert electricity to rotations. The one in the picture is used for computers. You need to add 12 volt to the red cable, and connect the black cable to the GND. Because RasPi has only outputs of 3.3V and 5V, you can’t drive fans directly. To convert the outputs, you need to use a DC-DC converter, but it didn’t work. I guess the fan couldn’t get enough power from the RasPi.
To control a fan from your RasPi, I could use the same circuit on the previous post, “A total beginner started to learn electronics with Raspberry Pi”. On this circuit, the LED turned with a 5V output, and I swapped to a 12V AC adapter.
There are a yellow cable and a blue cable too. The yellow cable outputs voltage depending on how fast the fan rotates. The blue cable is for controlling its rotating speed. To change it, you need to add pulses.
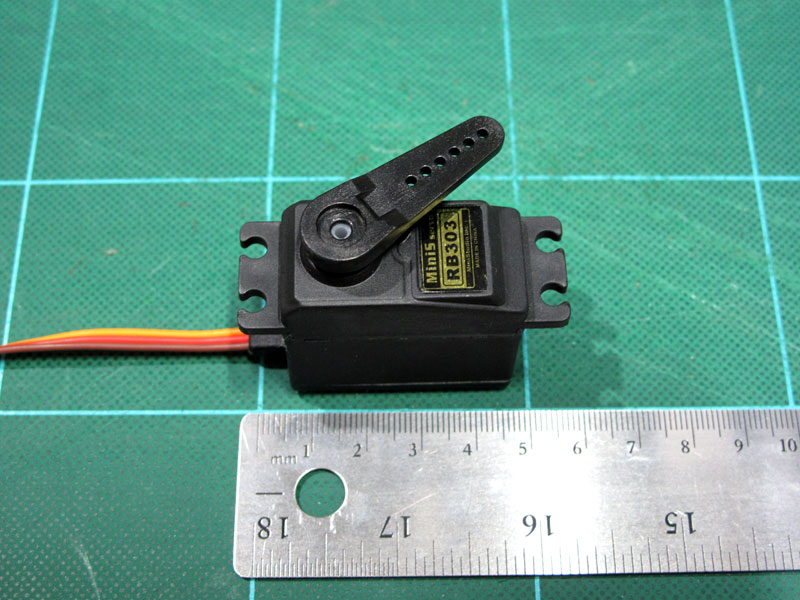
Servomotor [Wikipedia]
Like a fan, a servomotor converts electricity to rotation, but it doesn’t keep rotating. Servomotor vends its arm.
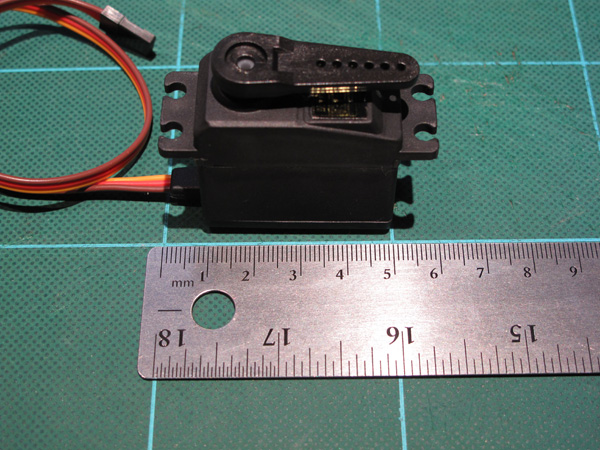
This is a MiniStudio Inc MiniS RB995. Robots we see sometimes on TV may be made by servomotors.
The picture below shows how it vends the arm.
The servomotors vend when voltage is add. But you can’t just connect a battery to operate servos. To operate, you need to
- Add voltage for 1.5 milliseconds (0.0015 second)
- Reduce voltage for 18.5 milliseconds (The sum is always 20 milliseconds.)
It is impossible to connect and disconnect the battery, but RasPi can do this. You may make a program like this.
- Configure GPIO to OUTPUT
- Set voltage to HIGH*
- Sleep for 1.5millliseconds
- Set voltage to LOW
- Sleep for 18.5millliseconds
- Go to * until rotation ends (There is no way to tell if rotation ended. I waited for one second.)
The way to add voltage is called “Generating pulses” or “add pulses”. I have heard pulses before, but I didn’t know what it meant.
To adjust angle, you need to adjust the length of voltage HIGH and LOW. The instruction of RB995 says ”Maxium pulse width is 1.5 +- 0.9ms”. This means you should add voltage for between 0.6 milliseconds (and sleep for 19.4 milliseconds) and 2.4 milliseconds (and sleep for 17.6 milliseconds). Then the arm moves countercrockwise, little by little. The way changing duration of pulse width is called Pulse Width Modulation (PWM). This is what the blue cable of a CPU fan is used for.
By the way, the method to control PWM by software is called Software PWM. Software PWM is not good at sleeping for exact moment, and the arm shakes in result. RasPi has a Hardware PWM, but I haven’t used it yet.
Thermometer
Thermometer is a device to measure temperature.
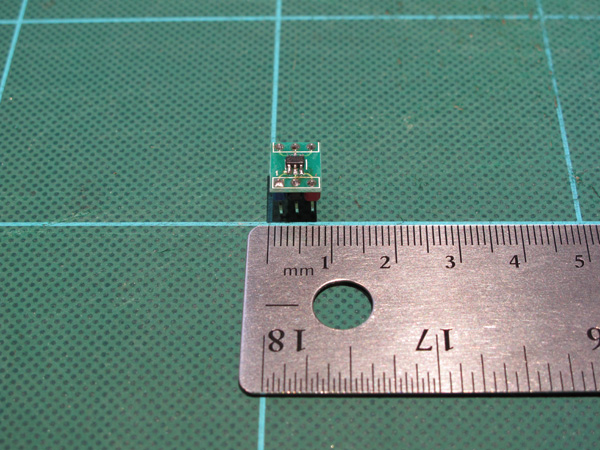
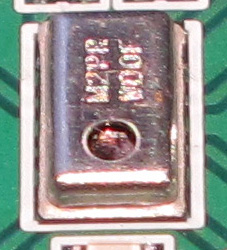
The chip in the picture is a STMicroelectronics STTS751-0WB3F. This black chip is as small as a grain of rice, and I soldered it.
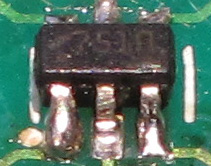
The solder is uneven.
Because measuring results are digital, RasPi can save them or output them to an LCD. Do you want to know what it is for? You can let RasPi to check temperature and let RasPi to turn on or off other devices!
To measure, you need to
- Communicate with a protocol called I2C.
- Acquire data from STTS751with certain commands called “Resisters”
- Convert data to temperature
This sounds difficult, but you can do this easily with commands. (You may have an error message because the original OS doesn’t have i2cget installed. Search for more information.)
$ sudo i2cget -y 1 0x39 0x00 b
(By default, i2cgetis not installed Please search in the Internet)
You can get data only with this command, but the result is in hex like this.
0x1A
Now you need to convert. Open “calculator” and follow [View] – [Programmer]
Select [Hex]
Type “1A”

Select [Dec]

The temperature is 26 Celsius degrees.
Barometer
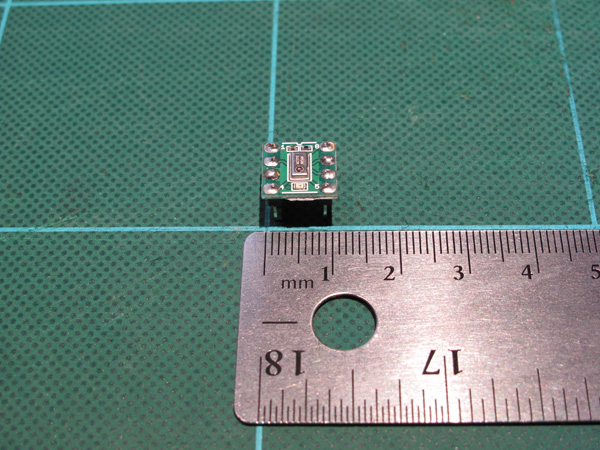
Another rice device…
This can measure pressure of air. The result is in digital. You may predict weather! The barometer in the picture is a Freescale Semiconductor MPL115A2.
Peltier element [Wikipedia]
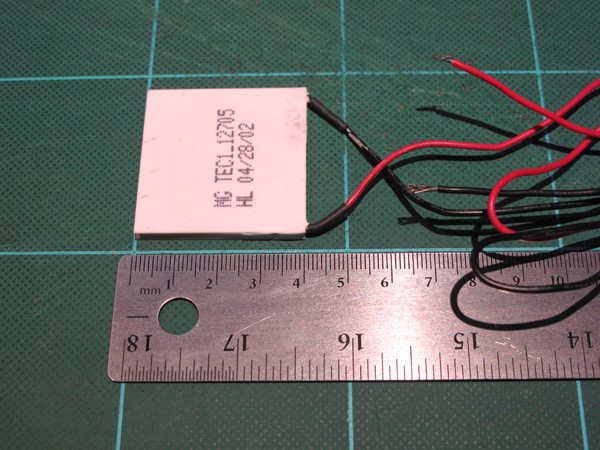
This is a device that gets hot on one side and cold on the other side when it gets electricity. I’m pretty amazed. You can make a refrigerator with this. Actually, I got this device from a refrigerator just before I threw away. It was long time ago. I really wanted to know how my refrigerator worked.
Fluorescent
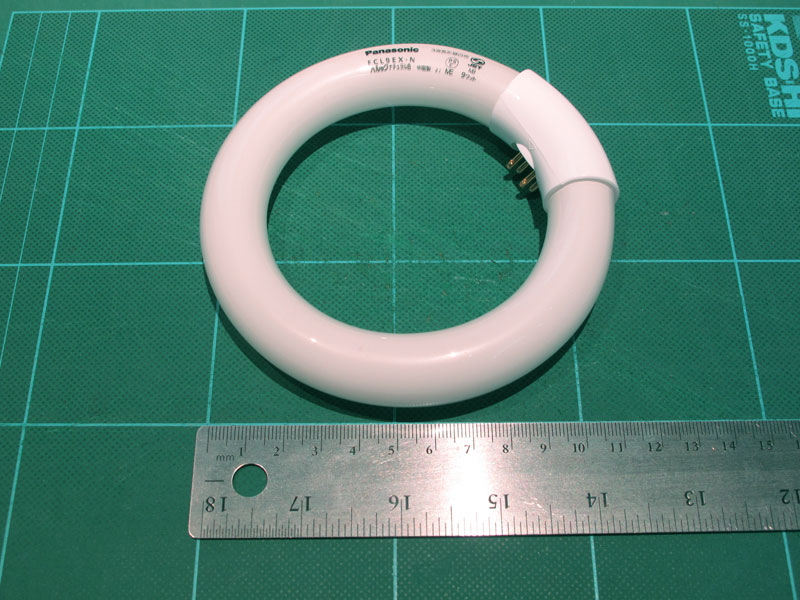
I’m not sure if a fluorescent is a device or not, but I picked up because this is necessary in our daily life. Unlike an LED, alternate current is required and you need to add technique to add voltage. In my university, physics experiment is a requirement, and turning fluorescent was one of the experiments. It is a dear memory.
If you want to control a fluorescent by RasPi, you may need a relay. RasPi doesn’t have enough power.
Medium
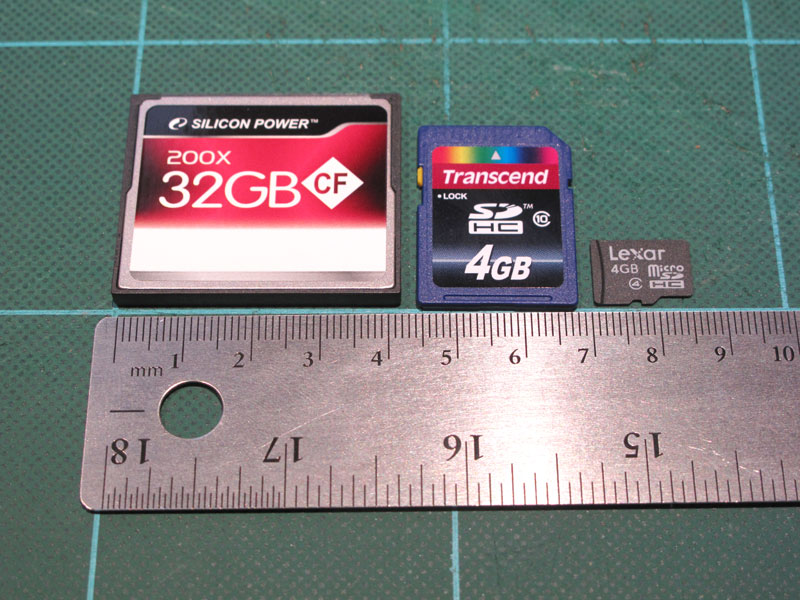
Medium are widely used by digital cameras and cell phones, so you should know. Every media has a controlling chip that understands SPI protocol. This means medium are electronic devices more than medium.
Because RasPi has USB ports, you can access medium by using a card reader. But you can dare to access via SPI to study.
If you are interested in this post, check all posts about Raspberry Pi and Electronics DIY. For example, I posted these articles.
- A total beginner started to learn electronics with Raspberry Pi
A cigarette-box-size computer Raspberry Pi “bridged” between my knowledge of computer science and electronics. More precisely, RasPi made me one of zombies that crowd around circuit boards and connectors. LOL
- Electronics with Raspberry Pi Vol. 2
I couldn’t understand what current, resistance and voltage meant, but having spent money (aka investment 😉 ), I’m getting to understand what they mean.
- Tools I bought besides Raspberry Pi
4 months have passed since I got a RasPi and started to learn electronics. As I study, I needed to buy many things including books, electronic parts and tools. Today I show you what tools I’ve bought besides RasPi.
This post is also available in: Japanese
Leave a Reply