How to paint Kigatame Ace
Have you heard a paint named “Kigatame Ace”? This paint is used not only for DIY lovers but also professionals who maintain cultural properties.
Painting dishes
Through my process of all paints on wood pieces, I was interested in painting on products sold at furniture and interior stores. For example, this is a spoon sold at Mujirushi.
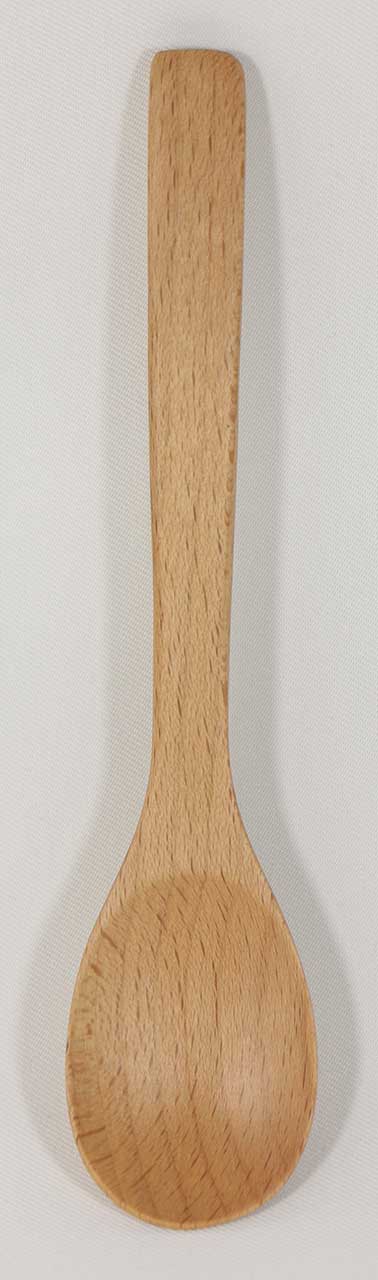
Mujirushi Spoon
I liked this paint because…
- the touch is smooth
- its reflection is less
- the wood is well protected
If I paint varnish, the surface looks like plastics. If I paint oil like Watco, the surface and the touch are the way I love, but oil is not good for dishes. (More precisely, the labels don’t say anything about painting on dishes.)
The label says the spoon was painted with urethane. As I wrote on “How to paint stain and water-based urethane varnish“, I had painted urethane, but the surface and the touch didn’t become like this spoon. I couldn’t tell what paint was used on this spoon.
I kept searching with the words like “urethane” and “dishes”, I found there was a paint named “Kigatame Ace” (Ace of harden wood).
Kigatame Ace
This paint must be remarkable for making wood tough. There are many sample pictures on Kotobuki Kako. They say the paint is used for dishes used in public schools, which sounds safe. There are instruction and a certificate of test done by third organization.
…But. I couldn’t imagine how to paint at all by reading this page. I have read through the instruction, and I felt the paint was for professionals and actually scared for words like “inflammable”, “organic solvent”, and “thinner”. I had also felt hesitations because the label warns “Long-term or continuous exposure results disabilities of organs” as “Information for danger and detrimental”, and “for your protection” I needed to prepare “protection gloves, a protection goggle, a protection mask, a protection face mask, and a protection clothes”. Do you feel hesitations? I did. 🙁
Additionally, I searched on the Internet, but all the pages I could find were very simple.
This paint is not sold at Tokyu Hands or home centers nearby. But I found it at Mokumoku in Shinkiba. I had even hesitated once again at the store, but I finally decided to try.
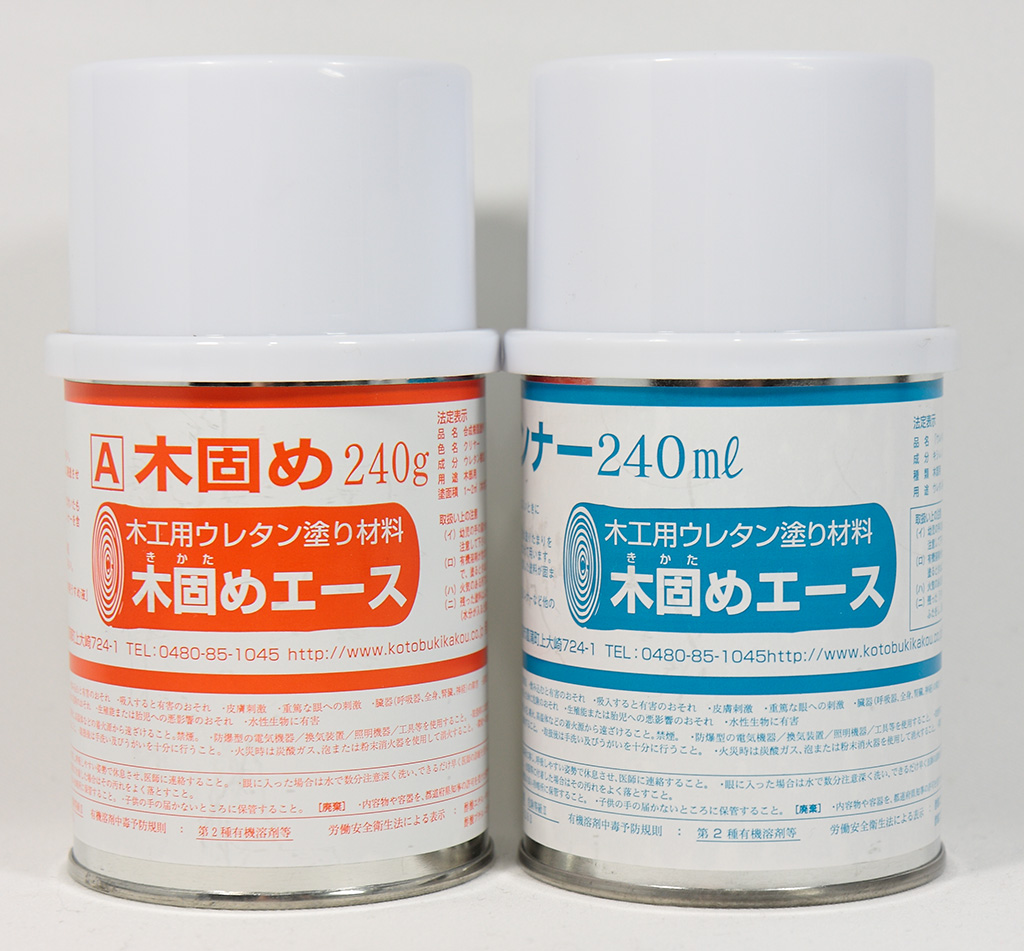
Kigatame Ace
The left one is Kigatame Ace (A). This is the paint itself. The right one is Kigatame Ace (E), and is thinner for Kigatame Ace (A).
Both Kigatame A and E have very strong smell. They smell like typical “thinner”. This is the smell of binding material when you make plastic models. The luquid themselves are like water. They are not sticky at all.
Preparation
I needed to prepare a little bit to paint Kigatame Ace. I would have said “You are exaggerated”, but I do think you need these.
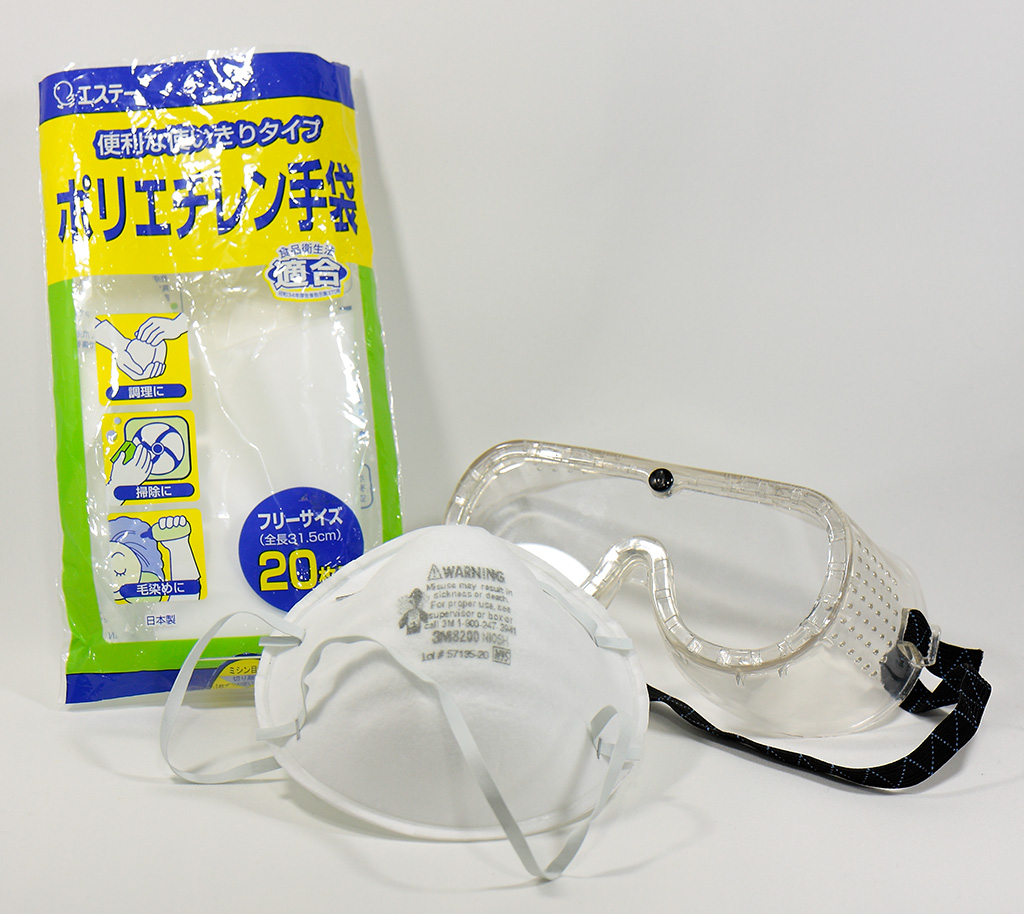
Tools
- Gloves
You need oil-resistant ones. The label says “Good for taking care of kerosene cans”, so they should be OK. - Masks
I recommend ones like the picture. Masks for cold is thin. (Japanese put masks when they catch a cold. Well, I think it makes sense.) This mask can’t stop the smell completely, but much better than nothing. - Goggle
If you have a goggle or something, put it. I don’t know what to do if the paint was accidentally put into your eyes… Because I’m used to paint Kigatame, I don’t put the goggles recently. I know problems happen very often when we are just get used to do something.
How to paint
- File surface
- Paint as if you pour
- Wait for 2 or 3 minutes
- Go back to step 2 if the paint is sorked
- Wipe paint remaining on the surface
- Leave for 15 to 20 hours.
- Wet sand. The paint finishes at the third time without wet sanding.
- Go back to step 1.
Here are detailed steps.
Filing Surface
As I wrote before on “Beginner’s oil-finishing with Watco” and “How to paint Osmo,
filing is very important. Read “Beginner’s oil-finishing with Watco” for sanding paper and grid numbers. I recommend using grids between 400 and 1500 depending on what number you prefer.
Painting (Preparation 2?)
The instruction says “Paint as if you pour”. I imagined pouring was spreading water with a bucket, but I just painting normally and that was enough. More precisely, I dripped with a pipette. 😉
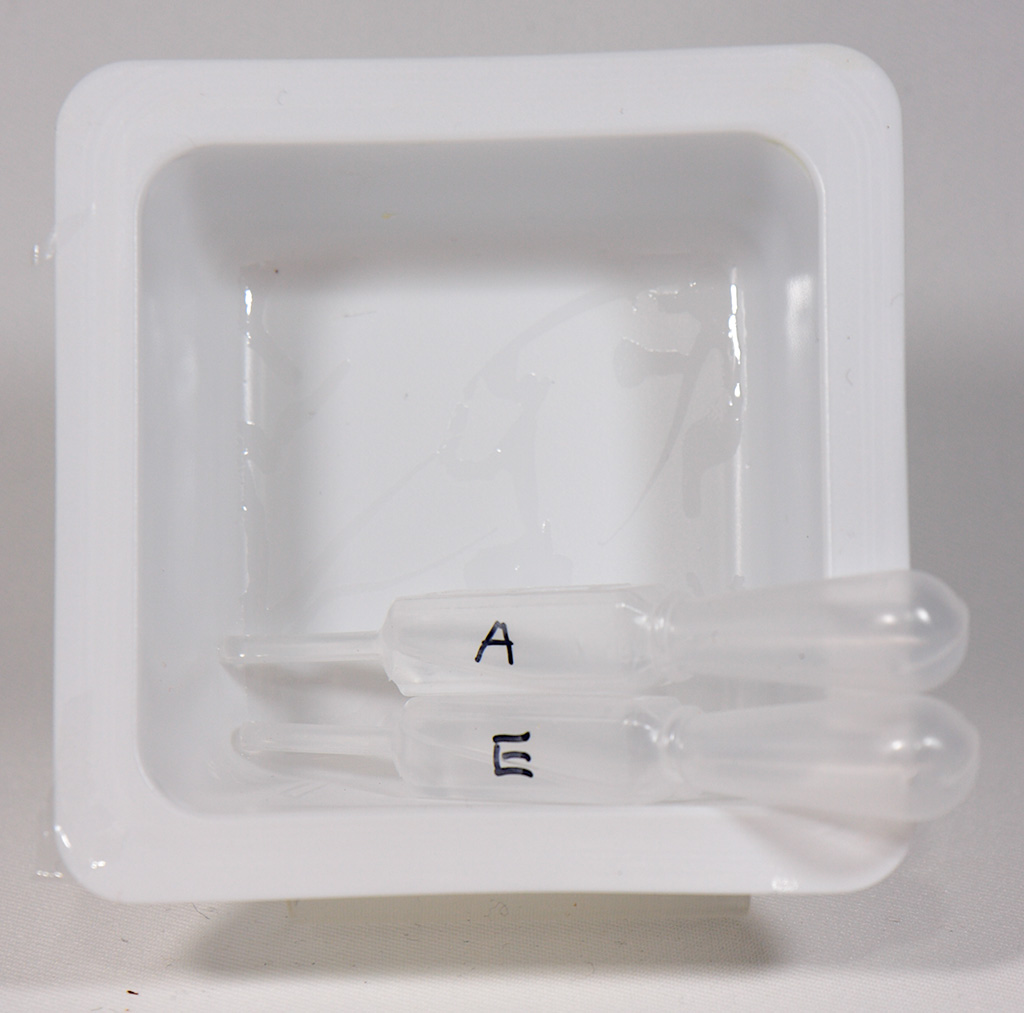
Pipette
These are pipettes I used when I posted “How to paint stain and water-based urethane varnish”. Pipettes were sold at Tokyo Hands. I was afraid they melted, but they were fine for at least one week, then the pipette A’s edge got hard.
The way to clean my brush came up at Tokyu Hands too.
Test Tube and Brush
I put my brush and Kigatame thinner into a test tube. In this way, I don’t waste the thinner at all. Additionally, I could stuff tissue so that they don’t smell 😉
Painting
I painted finally.
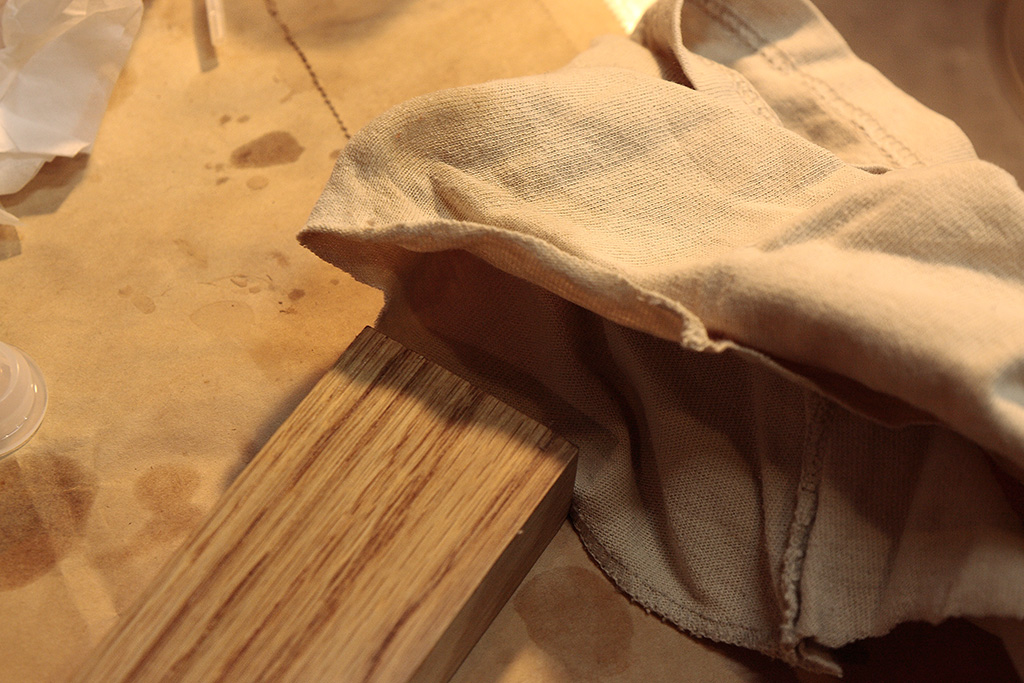
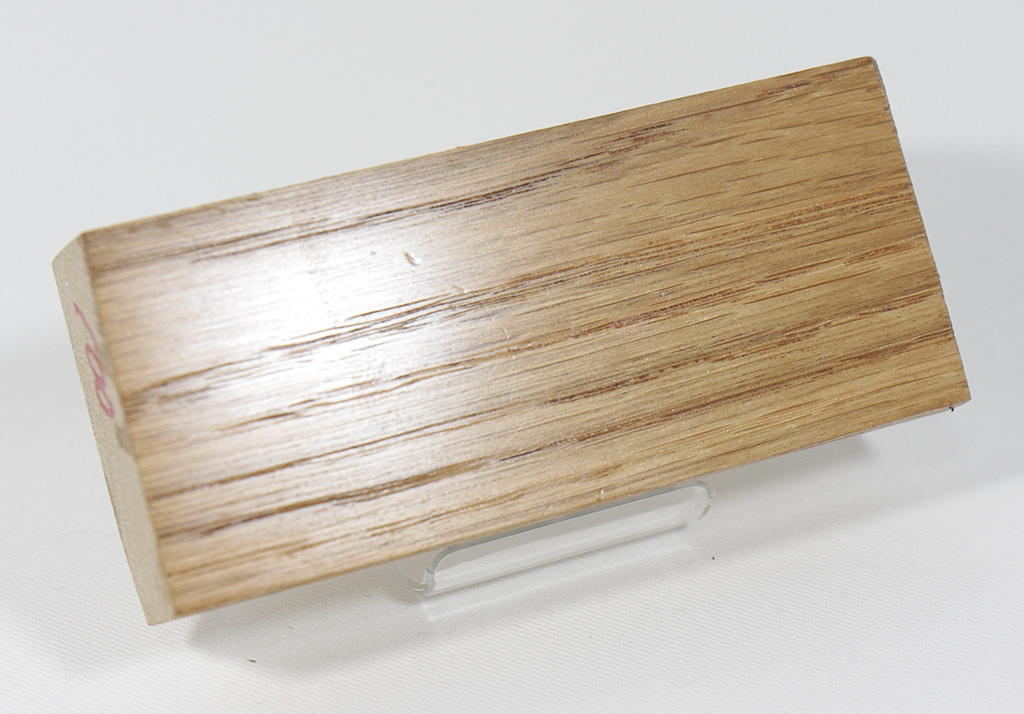
Before painting
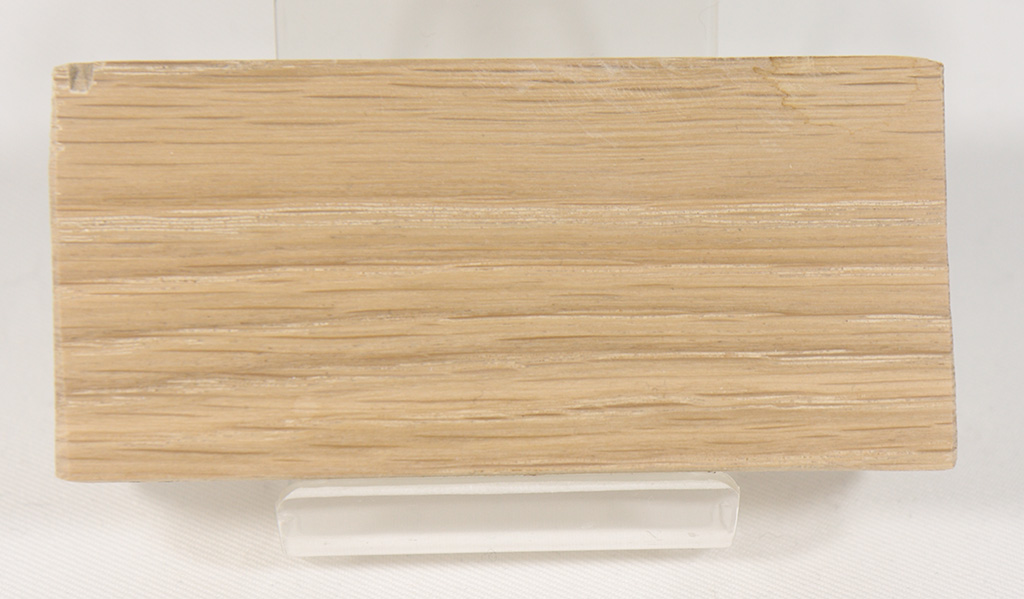
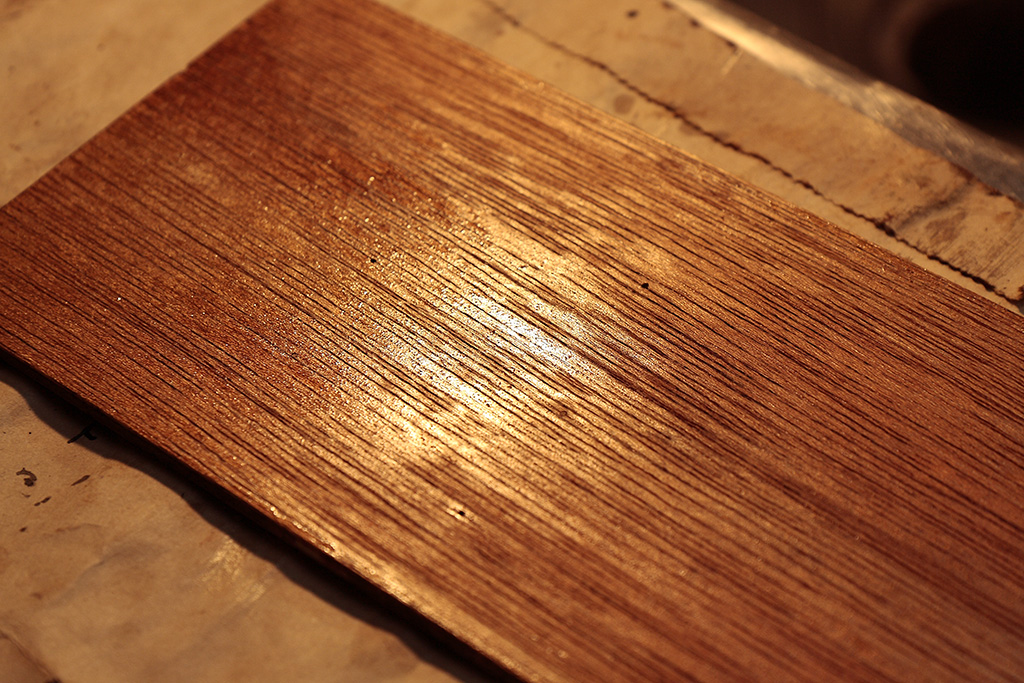
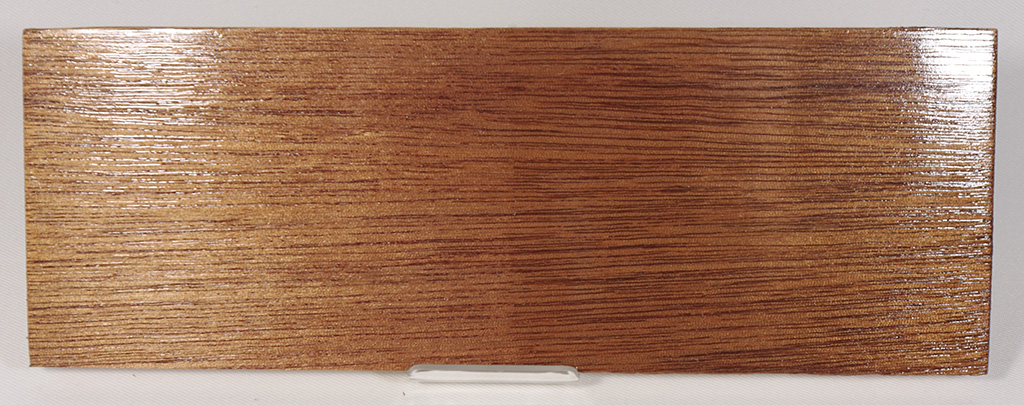
This is oak. When I painted, the wood piece looked like this.
Kigatame Just Painted
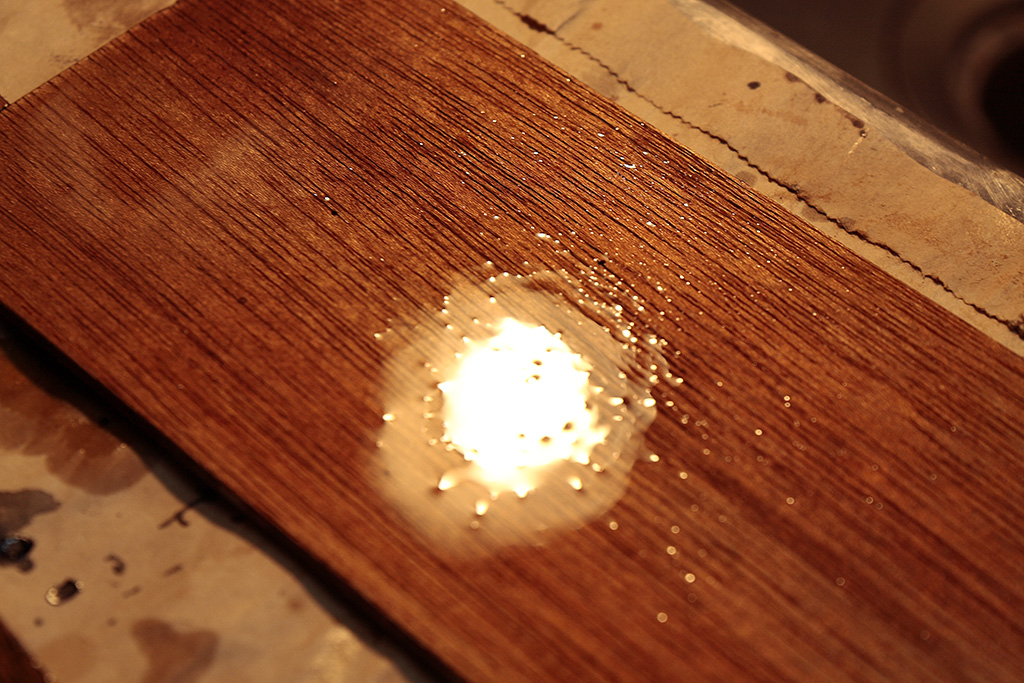
It was hard to tell if the paint was soaked. I found what they meant when I painted on lauan. This is 10 minutes after I painted once.
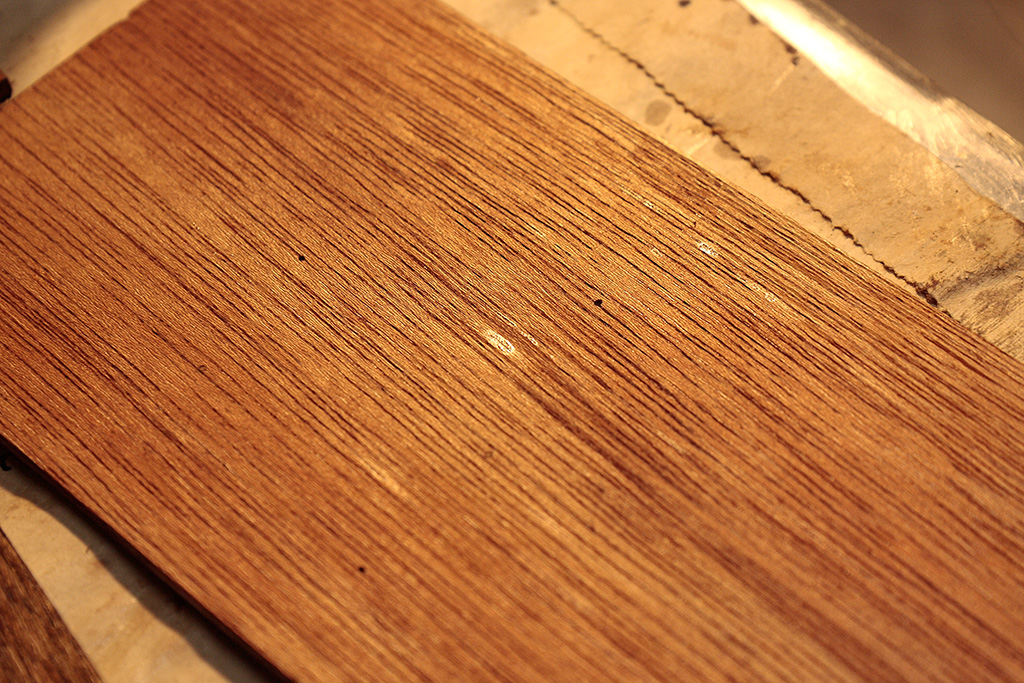
Kigatame Gas from Lauan
There is a reflecting spot at the center of the picture. This must be the “gas and excessive resin”. Other parts were wet, but there were no reflecting parts. I thought the piece could sork more. Even if you touch the surface through the glove, it is not sticky.
Time to wait
You can paint again in 2 to 3 minutes. You can also leave for about 1 hour. Just paint often.
40 minutes after painting 2 times
Lauan still soaked the paint, but it started to reflect light. I touched the surface, and felt a little friction. I thought the excessive resin could harden.
Keep painting.
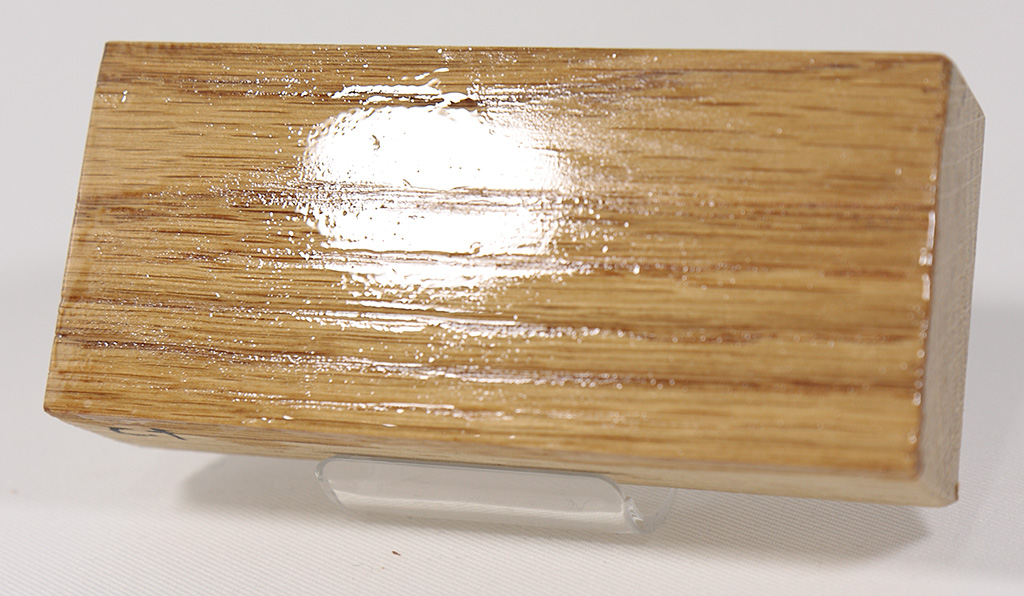
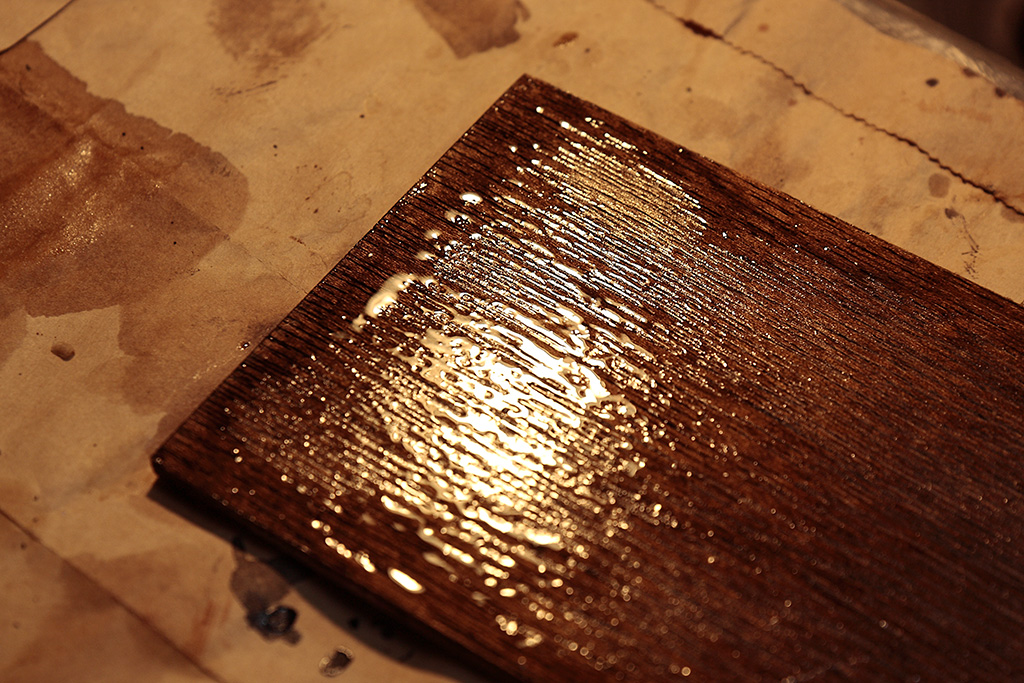
Right after the third paint
I could see the shape of the light.
It the wood piece can’t soak Kigatame anymore, the excessive resin gets harden. The paint keeps the melted-drop state for 1 to 2 hours. If you touch, you mark your fingerprints on it.
Kigatamed enough
Because it was too much sticky, I couldn’t even scratch. You can proceed to the next step. If you leave too much, the mark remains.
Example of too much resin
20 minutes after several times of painting.
Kigatamed too much
If you wait for 20 minutes and the surface looks like this, this is enough. Actually this is too much. But even you paint like this, you can wipe until the surface is sticky.
Wiping
Wipe the excessive resin on the surface with waste T shirt and Kigatame (E).
Wiping Kigatame
Even the surface was that sticky, I could wipe easily. How amazing. 😉
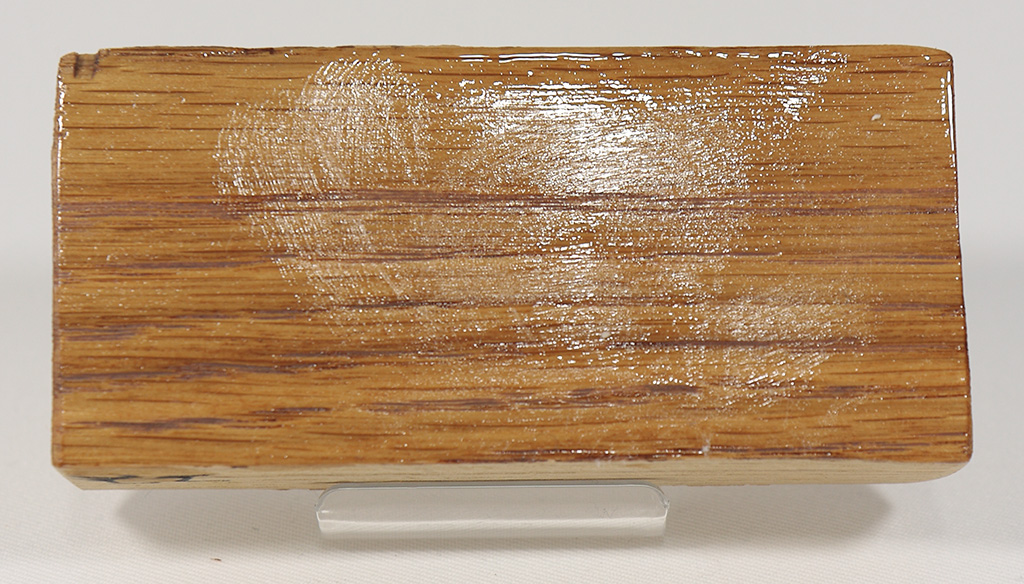
The surface became totally smooth.
After Wiping
Wet sanding
Wet sanding is to sand with water.
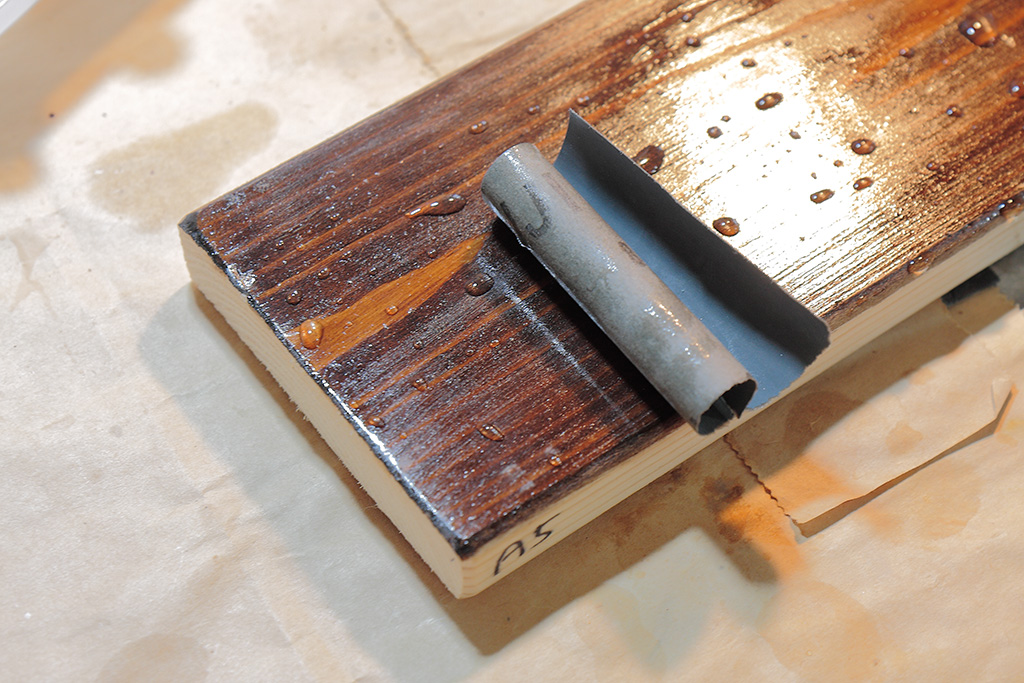
Wet Sanding
And the result became like this.
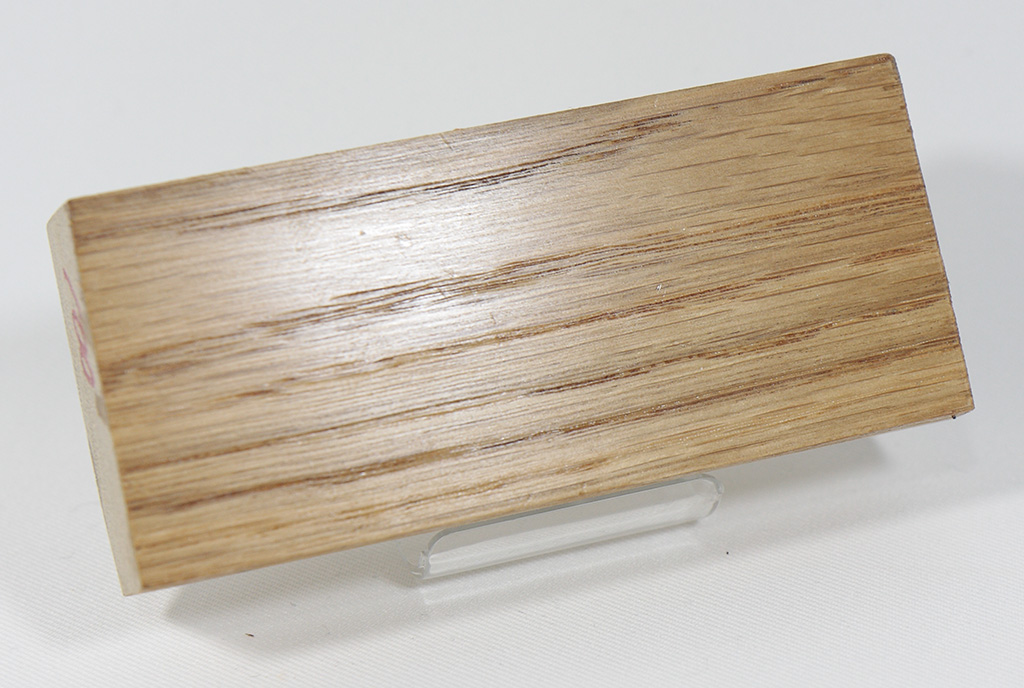
After Wet Sanding
The reflection became less.
Repeating
The instruction says we need to paint 3 to 5 times more. In my opinion, this depends on what type of wood we use. I painted 3 times on lauan, and 2 times on oak. The result was not different from the 1st time of the paint process.
Will it blend?
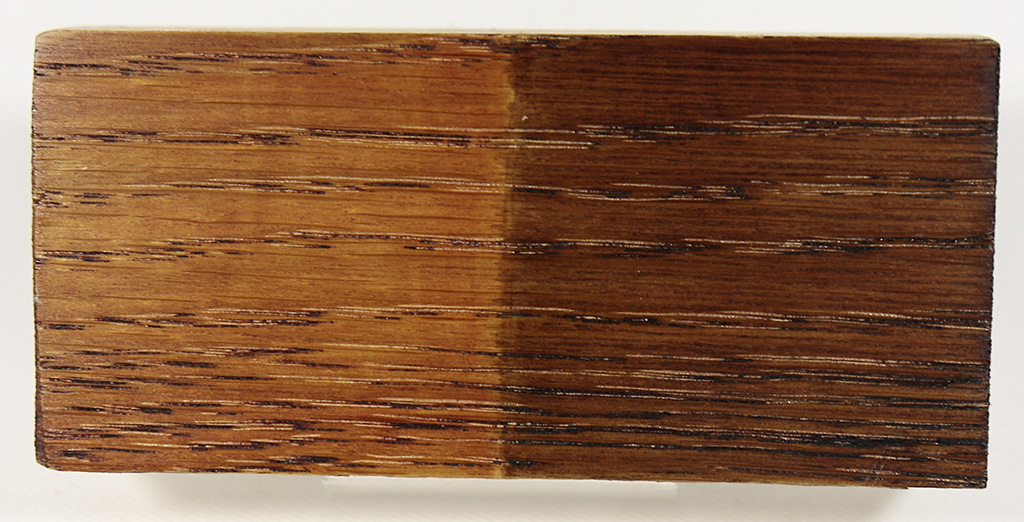
I tested if other paints go well with Kigatame. I used Washin’s polishing powder (red) and pour stain. Read this post about these paints.
Polishing Powder
Polishing Powder is painted only on the right side. The result looks better. The vessels (horizontal lines) are emphasized.
Kigatame with Polishing Powder
Pour Stain
It didn’t blend:-| Look at it from the front. It doesn’t look bad right?
Kigatame on Pour Stain
Now look at this.
Kigatame on Pour Stain
When I wiped, the color was wiped together. The part where is not reflecting light doesn’t have dark color. This must be because pour stain is pigment.
You may have heard this word because there are two types of inks; pigment and dye. In short, pigment is paint. When you paint, the wood is colored. You can remove afterwards because the paint becomes a coat.
Dye can’t be removed because it soaks into wood. If you cut the wood deeply enough to reach the bottom part of the dye, the color should become the beginning, but it is not practical because the depth may vary depending on every part.
I had dye by chance.
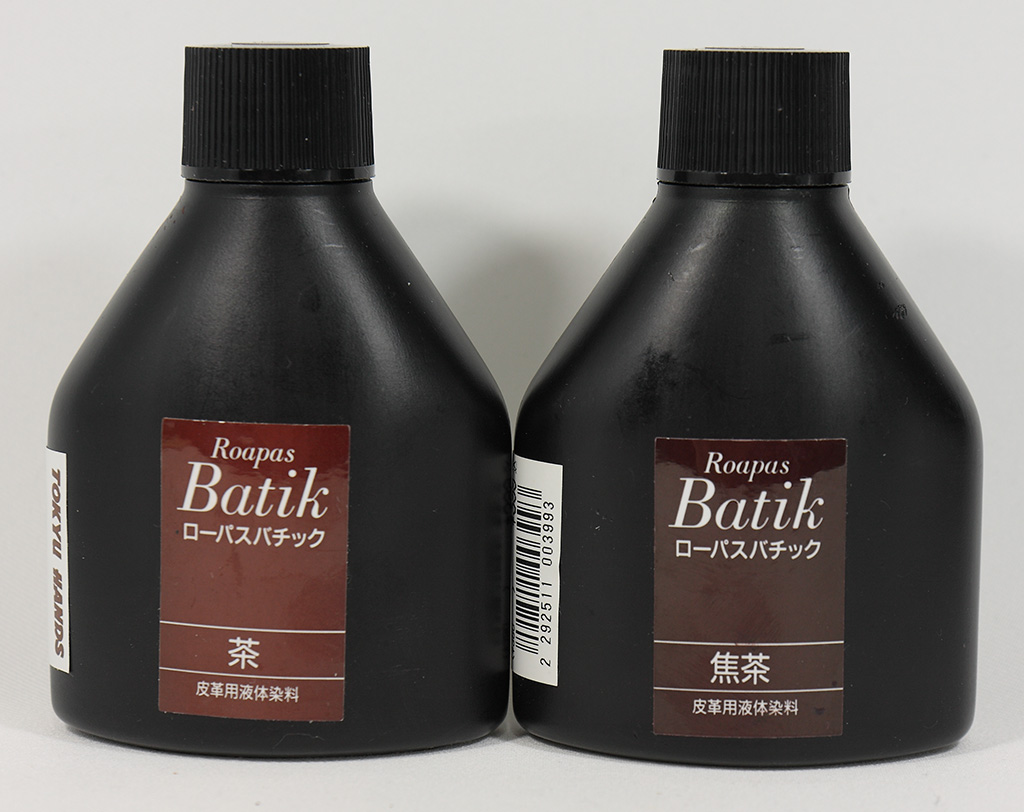
Roapas Batik
There are dye for leather craft, and called roapas batik. If I used these instead of pour stain, the color didn’t change.
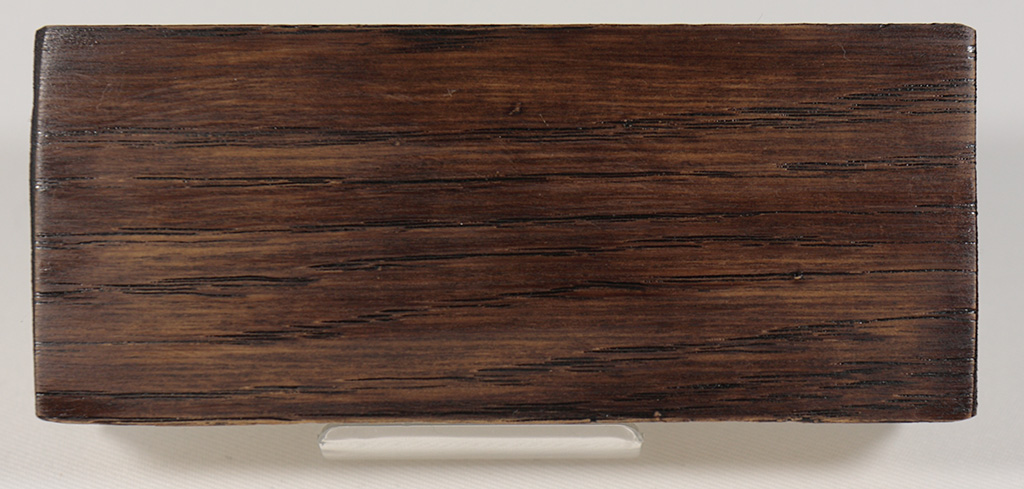
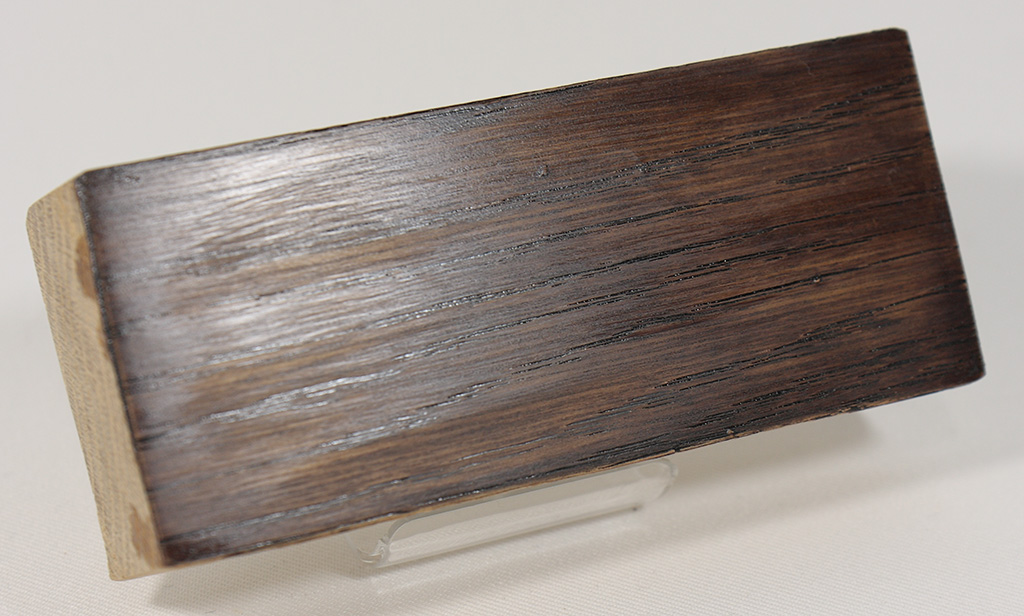
This is after I painted all.
Kigatame with Roapas Batik
By the way, when I painted Kigatame on roapas batik, they smelled extremely terrible. I have no doubt there was a chemical reaction. I’m not sure it was even safe.
If you are interested in this post, check all posts of “Painting”. For example, I posted these articles.
- How to paint stain and water-based urethane varnish
Today I will show you how to apply polishing powder, and how to paint stain. I tried to explain the steps and points with samples as many as possible.
- The beginner is oil-finishing with Watco
I found Watco by chance in the store. I thought the word “oil finish” sounds like craftsman-like, and something craftsman-like would make goods better, which was a lighthearted attitude.
- A total beginner started to learn paintings for woodworking
As I processed Raspberry Pi cases and dimmer, I thought using wood would be a good idea because wood can be bought easily at fewer prices. Also making furniture is one of my goals. This is why I started to learn paintings.
This post is also available in: Japanese
Leave a Reply