Drilling a Raspberry Pi case
I drilled my Raspberry Pi case to take GPIO pins out of case. I needed knowledge of DIY (Do it yourself) of both wood and metal.
I was stuck. There are many books about electronics, but they don’t tell how to put my circuit board into a case. There are some pages and books that introduce what they do, but the things don’t look cool or physically strong enough. But I studied it is not easy to make things that satisfy me.
I want to have this texture and feel.
I learned at the end that working cases is not in a category of electricity. I needed knowledge of DIY (Do it yourself) of both wood and metal. As I wrote on the first post, many people seem to use their circuit boards without cases. This must be because they don’t know DIY.
I asked at a store in Akihabara how to choose a case and install a circuit into it, but they said there was no specific way. They sell “kits” that come with components so that I don’t need to pick up by myself, but a case doesn’t come together. I have to protect what I make, but how? They don’t add a case for favor so that I can choose whatever I like? Is it because electronic lovers don’t have a custom to use cases? I want to know why.
Many stores in Akihabara have Takachi cases. I bought some.

The sizes of cases are varying. We have to find cases that fit circuit boards. Or we have to design circuit boards to fit cases. I guess engineers have to think in the latter way.
If the circuit has button or LCD monitors, you need to drill holes in the case. These are tools to open holes.
I bought a Proxxon No. 16000-S (milling machine).
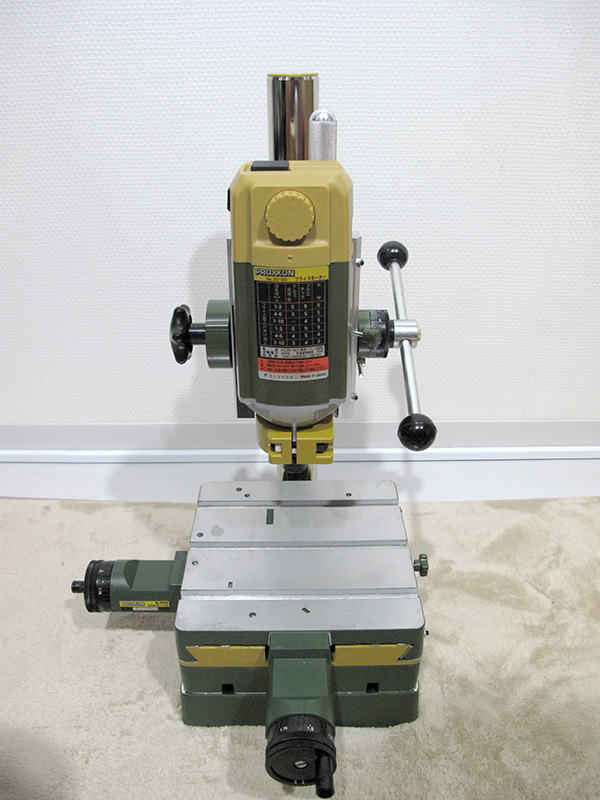
I haven’t dreamed of buying this kind of thing a few months ago, and I thought there was no going back. LOL 16000 was sold for 29,800 yen at Shimachu, but the price has gone up to 39,800 recently. There is a store selling for even 60,000 yen in Akihabara! I’m wondering how they decide the prices.
The advantage of milling machine is safety because I don’t need to hold materials with my hands. And also I can not only drill but also cut precisely wherever I want to. The disadvantage is the price. I need room to place it, which is also disadvantage.
I drilled a wood piece first.
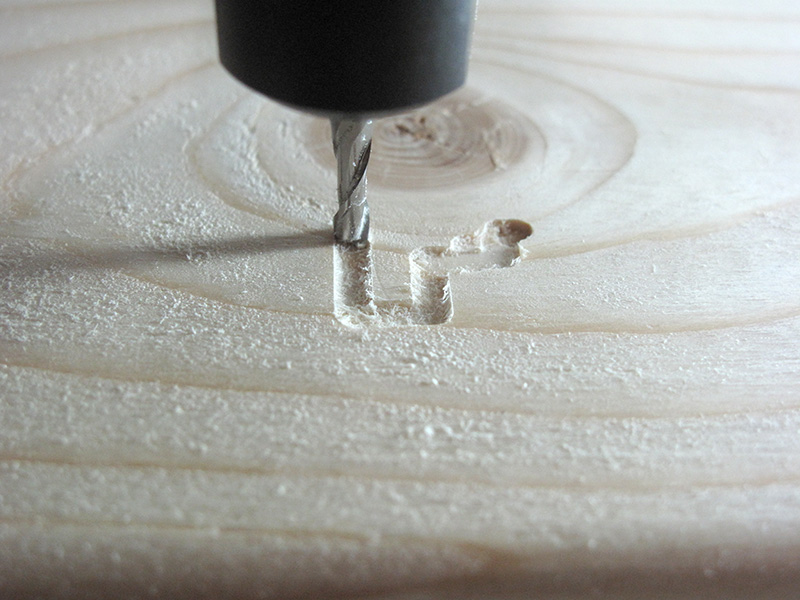
Dig Dug is back! I haven’t dreamed of playing it 30 years later. 😉
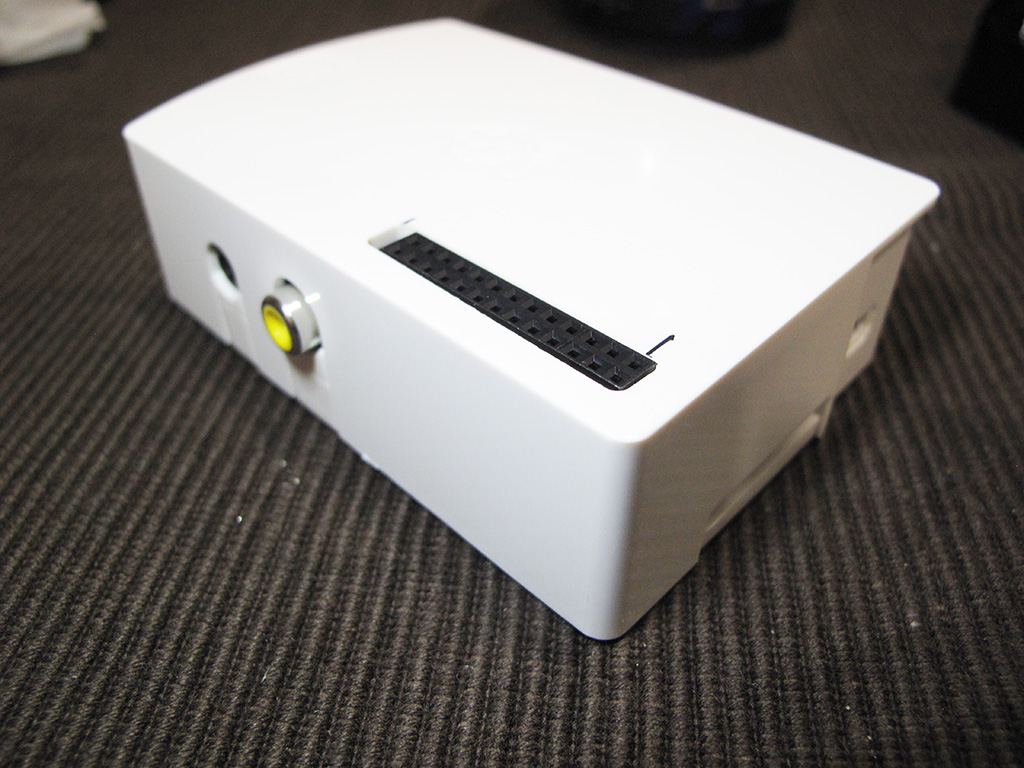
I drilled a case of Raspberry Pi. I wanted to take GPIO out of the case. I soldered pins on top of GPIO pins of Raspberry Pi.
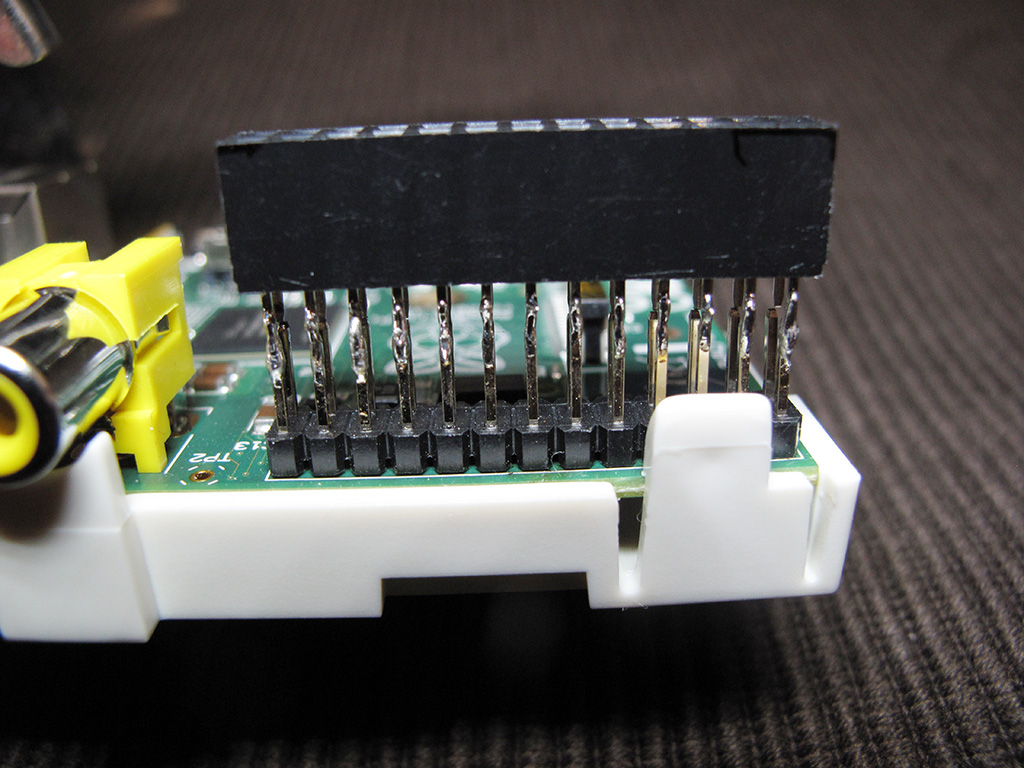
I marked where I wanted to drill (but it was not enough accurate), and place the case on my milling machine.

I could make a hole right above the pins! The surface level is perfect!
It was not an easy way. My first Raspberry Pi died.
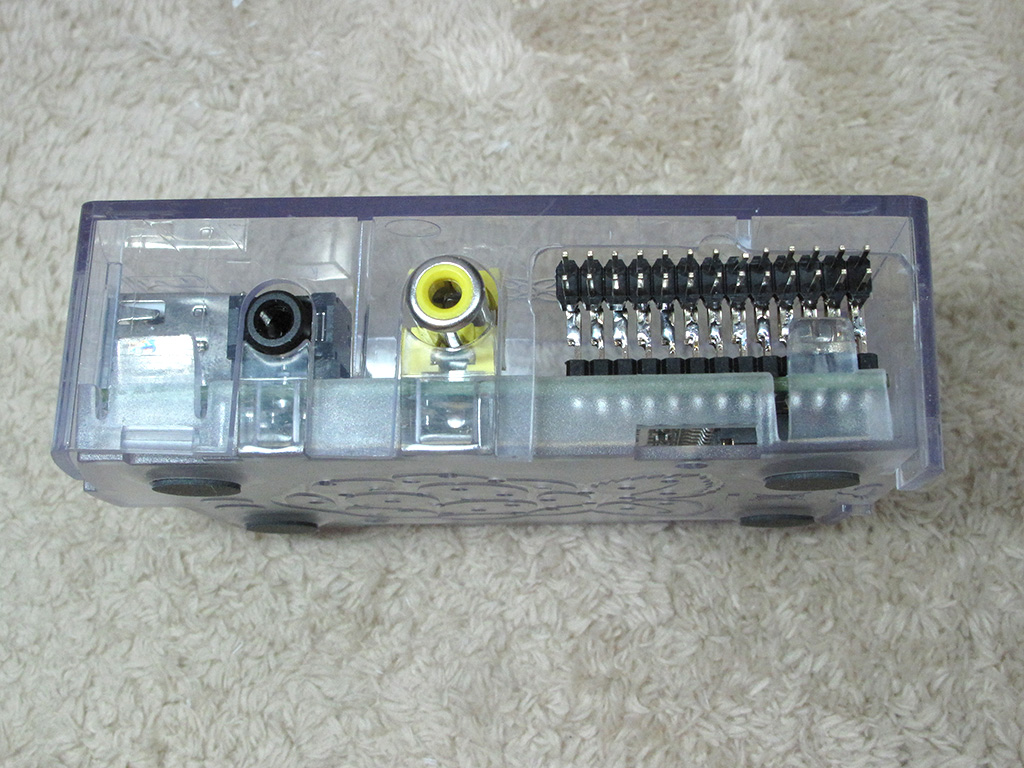
The first one had GPIOs on side and had male pins. After soldering the pins, Raspberry Pi didn’t turn on its power LED, and then couldn’t turn on after a few boots. The case wouldn’t close very well because the hole was open on this side.
I wrote about working cases more in “Making and studying an Akizuki Triac Dimmer (speed controller) and case processing“.
If you are interested in this post, check all posts about Raspberry Pi. For example, I posted these articles.
- A total beginner started to learn electronics with Raspberry Pi
A cigarette-box-size computer Raspberry Pi “bridged” between my knowledge of computer science and electronics. More precisely, RasPi made me one of zombies that crowd around circuit boards and connectors. LOL
- Electronics with Raspberry Pi Vol. 2
I couldn’t understand what current, resistance and voltage meant, but having spent money (aka investment 😉 ), I’m getting to understand what they mean.
- Tools I bought besides Raspberry Pi
4 months have passed since I got a RasPi and started to learn electronics. As I study, I needed to buy many things including books, electronic parts and tools. Today I show you what tools I’ve bought besides RasPi.
This post is also available in: Japanese
Leave a Reply to Brian Gold Cancel reply