Beginner’s oil-finishing with Watco
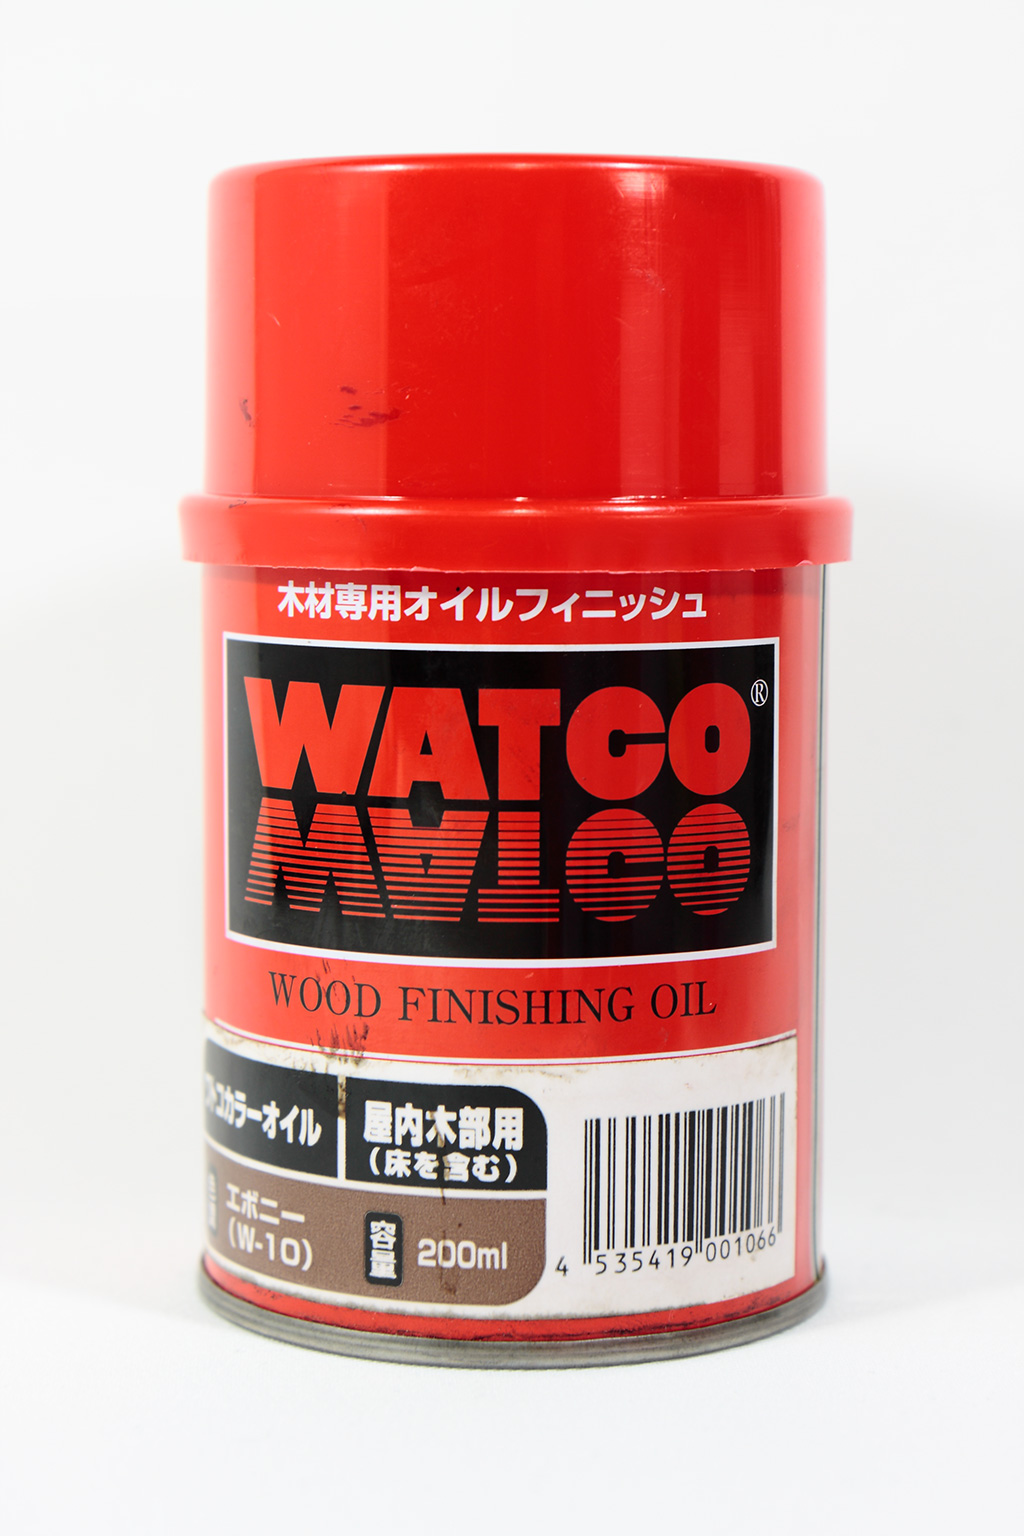
I found Watco by chance in the store. I thought the word “oil finish” sounds like craftsman-like, and something craftsman-like would make goods better, which was a lighthearted attitude.
I have tested varnishes and stains in the previous post. At the same time, I was painting Watco oil and having trouble.
There are many paints in the store. “Oil finish” is one of the paints. You may feel cold when you touch wood surface with varnish, but the surface oil-finished wood is warm and natural. This paint is oil-based, but you can clean your hands by washing 2 times with soap.
These are my goals of wood painting.
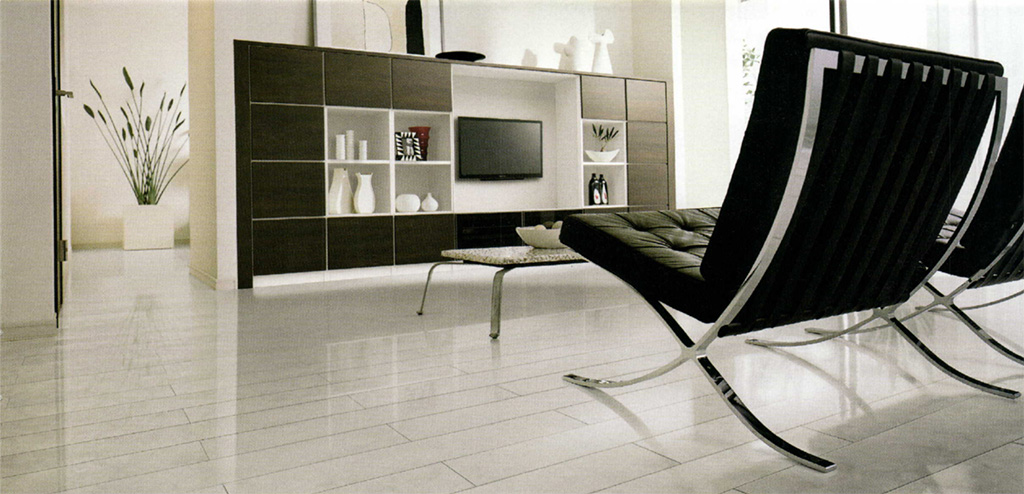
Signo (Panasonic Floor material 2013)
Realo (from the same brochure)
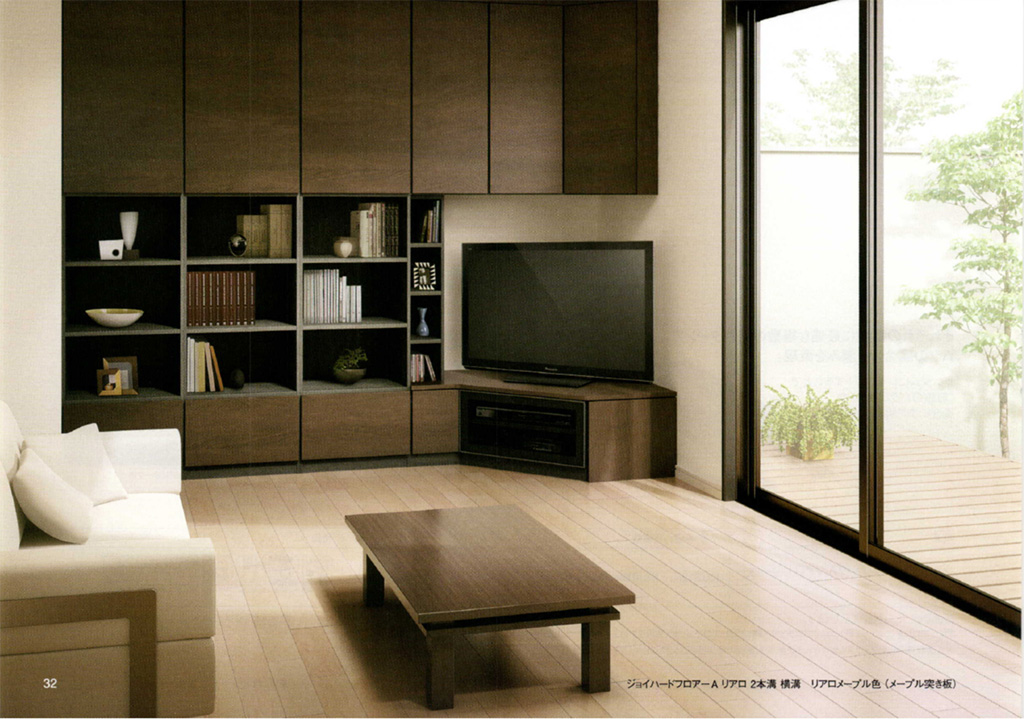
I’d like to paint like these shelves and table. I prefer darker color. I give you my conclusion first. I couldn’t paint like these with Watco oil on SPF. But I found I needed to choose proper wood so that oil brings out the best of characteristic.
I bought an ebony, which was the one most close one to my image.
How to paint
The way to paint Watco was very unusual to a total beginner.
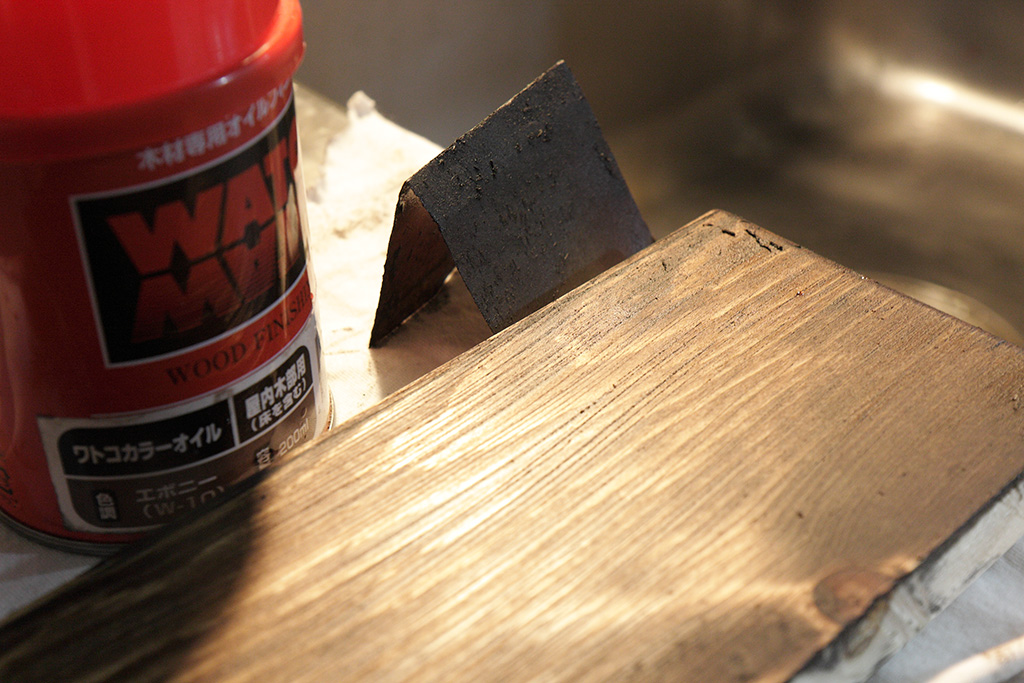
- File with 240 grit sandpaper
- Paint oil
- Leave for 20 minutes
- Wipe oil
- Leave for 60 minutes
- Paint oil
- Wet sand with 400 grit waterproof sandpaper
- Wipe oil
- Leave for 1 day
I explain in the order.
File the surface of a piece of wood. There are many kinds of sandpaper sold in stores. I often see these.
| Material | Grit size | Toughness | Anti clogging | Water resistance |
| Sanding paper | 40 to 400 | NG | NG | NG |
| Sanding cloth | 40 to 400 | GOOD | NG | NG |
| Anti clogging paper | 60 to 400 | OK | GOOD | NG |
| Waterproof paper | 60 to 2000 | OK | OK | GOOD |
| Polinet sheet | 60 to 1000 | GOOD | GOOD | GOOD |
| Wrapping film | 1000 to 15000 | ? | ? | ? |
I use anti clogging paper and water proof paper. I used 120 grit of anti clogging paper first to remove roughness, and then proceed to 240 grit of anti clogging paper. It is said that choosing grit number multiplied by 2 is practical to proceed to the next level. (I chose 240 because 120 x 2 = 240.)
Paint with a brush for oil paint. Paint evenly. If you use a brush for water paint, painting may be difficult because the brush is not hard enough.

Leave for 20 minutes
Wipe with a rag. I usually use waste T shirt.
Leave for 60 minutes
Paint again. The oil spreads well because this is the second painting. As a result, you may use less amount of oil.
The next step is wet sanding. Wet sanding is filing with liquid. I filed the surface with oil with 400 grit waterproof paper.
I knew only brush and spray, and these were only the ways. As I study, I got to know other ways and impressed. Like I posted before, the problem is not I know nothing, but I don’t know I know nothing.
Wipe with a rag.
Leave for 1 day. The oil comes out depending on wood. It doesn’t happen on SPF, but it does on lauan. This is how the oil comes out from lauan.
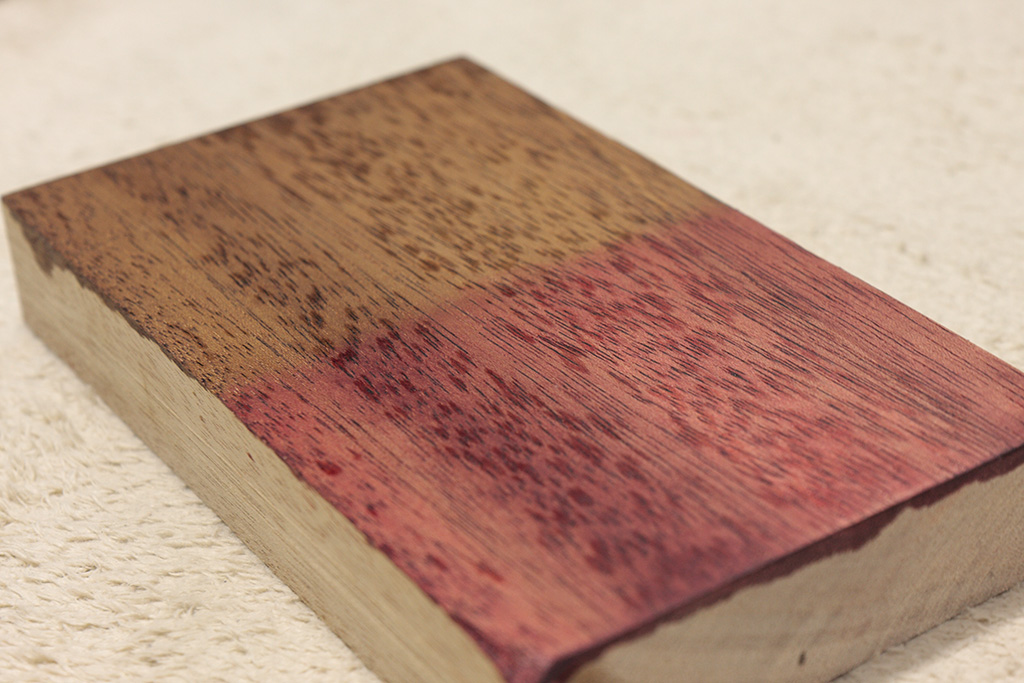
This is after I wiped.

Ebony or agony?
SPF and cypress didn’t absorb oil evenly. This is my first work.
I was very disappointed. It looks sooty. I bought other colors and tested, but I couldn’t find the solution.
The picture below was taken right after I painted cherry and dark walnut at a ratio of 1:1 on cypress.
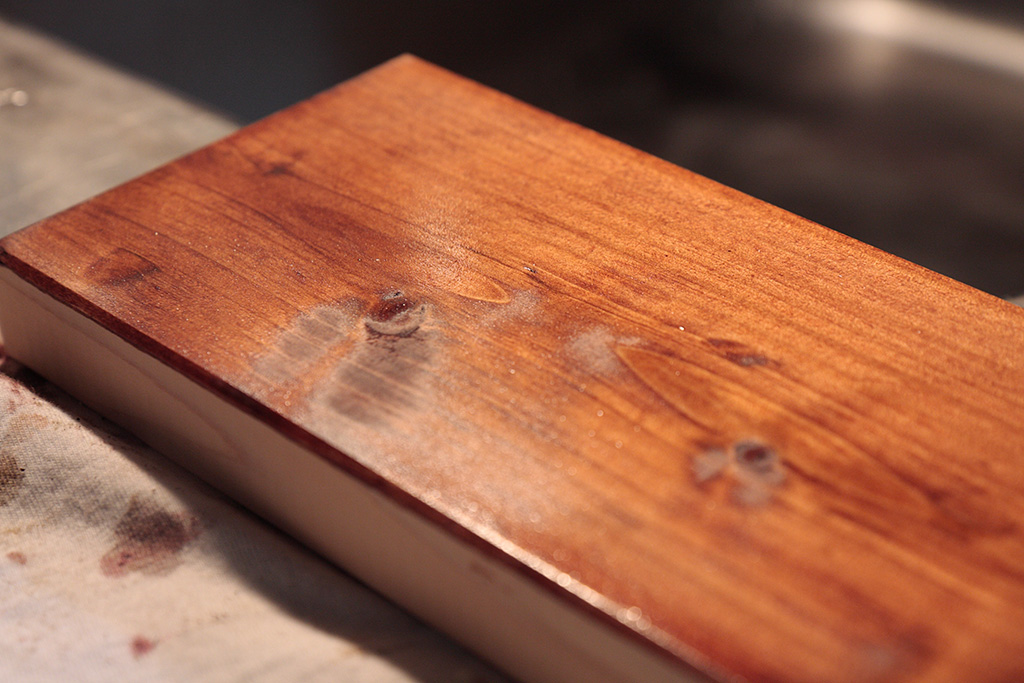
The part of burl is dry already. Two minutes later, the wood absorbed all the oil.

The part of burl became a spot.
“Natural” didn’t make any spots. This was not what I wanted, but I the oil maximized the feel of SPF, and the surface was like the skin of baby.
“White” didn’t change the color of SPF. The touch was like “Natural”.
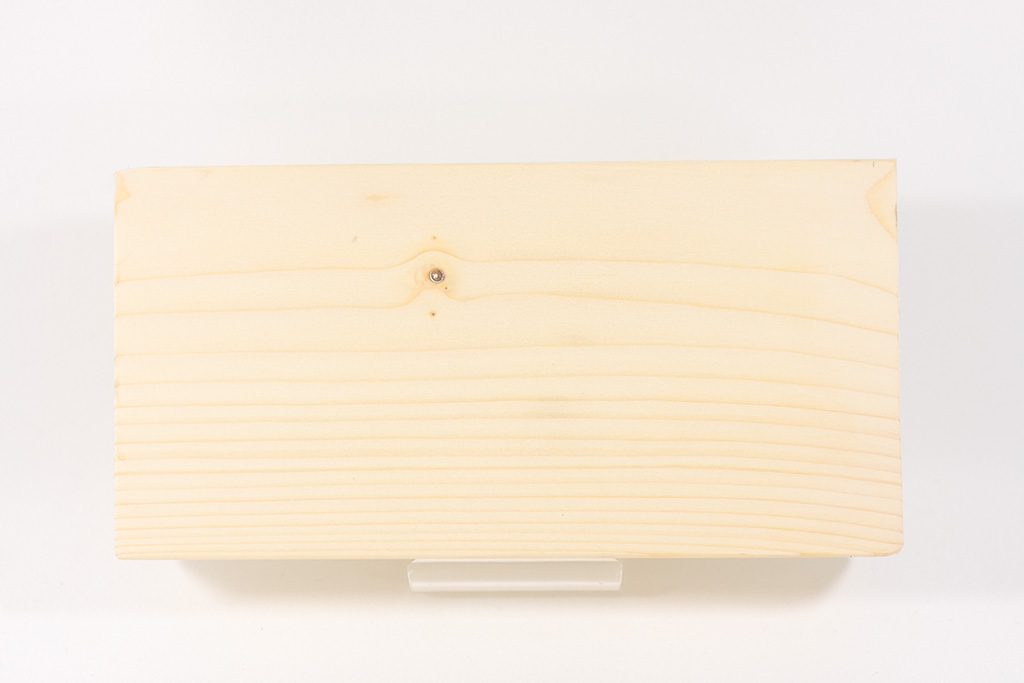
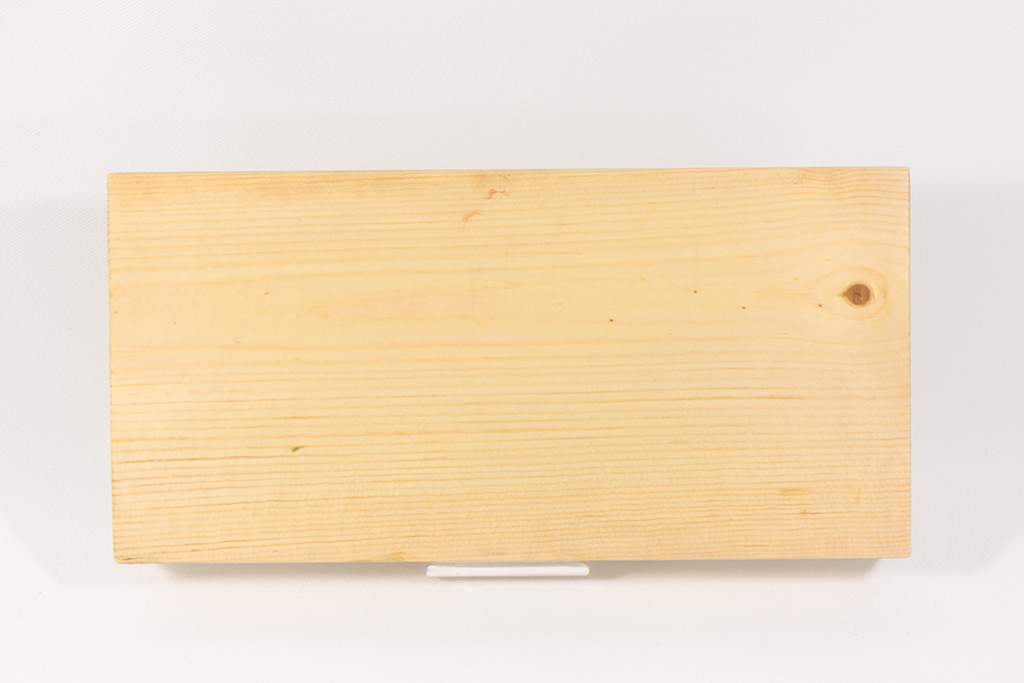
For your information, this is SPF without painting.

Watco brings out the best of characteristic
I tested SO MANY but couldn’t find how to paint, so I asked the manufacture by sending photos. They said “Watco brings out the best of characteristic.” This is the summery of what they said.
- Hard wood absorbs oil evenly, but soft wood absorbs oil depending on its part.
- Because the oil is dye, color changes as the oil infiltrates. (If the oil doesn’t infiltrate well, the color doesn’t change.)
The book I referred in the previous post says similar things.
Oil finishing results better on wood which is hard and has good grain because the oil emphasizes both good and bad sides of wood. Oil works better on wood with dark color like teak, rose wood and walnut, and some precious domestic wood like zelkova and oak. Because oil may fade into yellow, it is not recommended to use on kalopanax, fraxinus or tilia. – Painting on wood (木材の塗装) Page 68
I bought some hard wood. I referred “Wood Dictionary 185” (木材大辞典185種) and chose wood in the store.
This is “Ebony” on walnut.
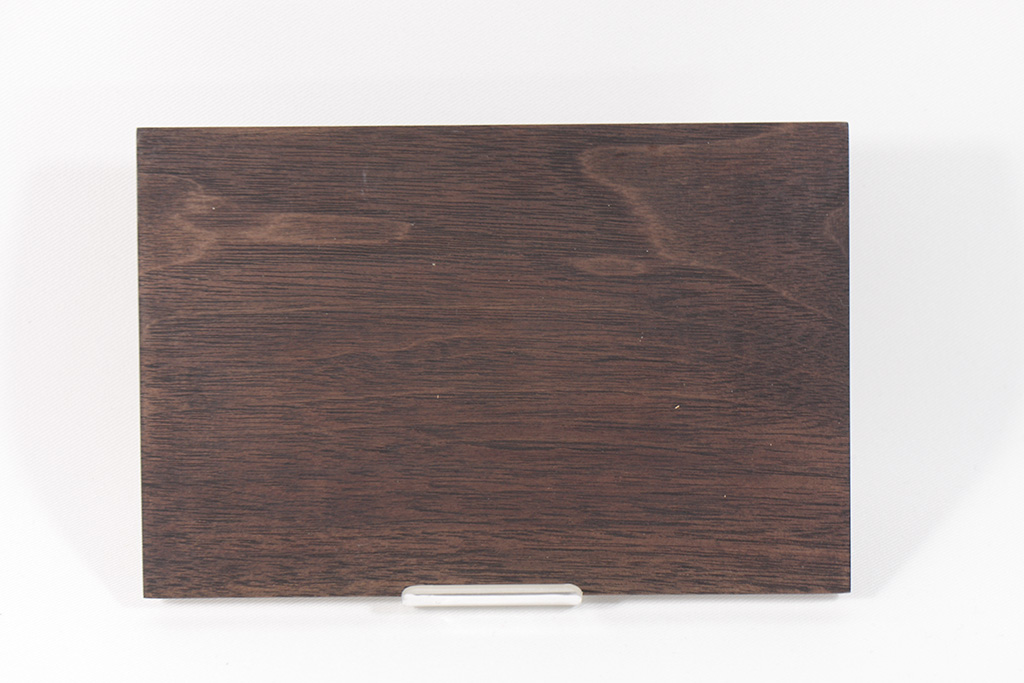
The result is very close to my image.
“Ebony”, “Ebony 1: Mahogany 1”, “Mahogany” from left on lauan.
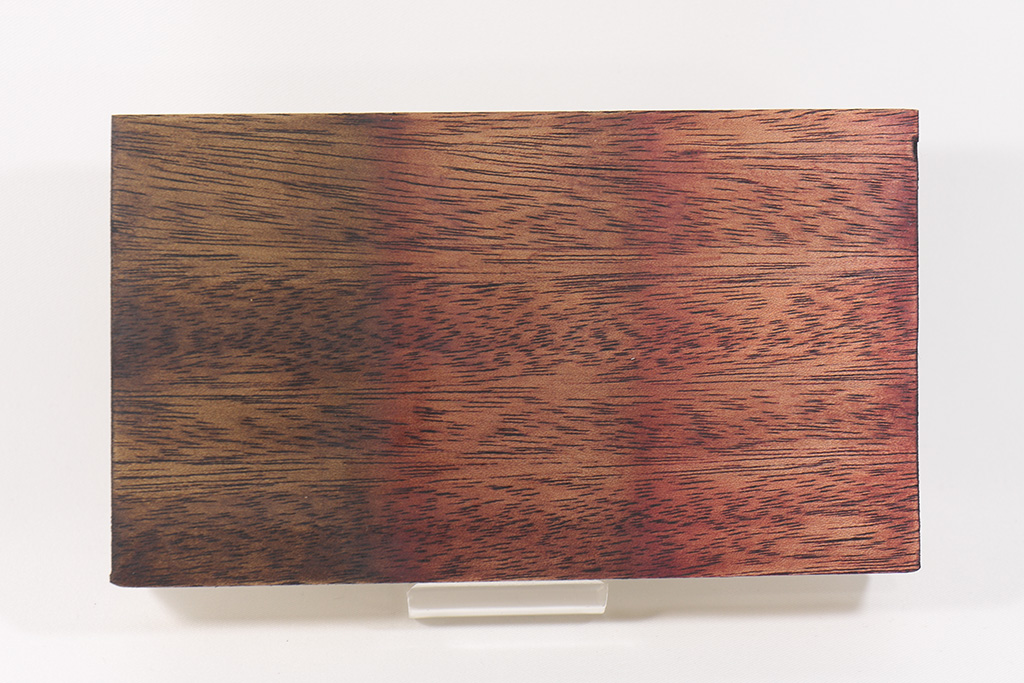
The wood absorbed oil unevenly, but because the uneven part is even (left to right, not like spot), the result is ok.
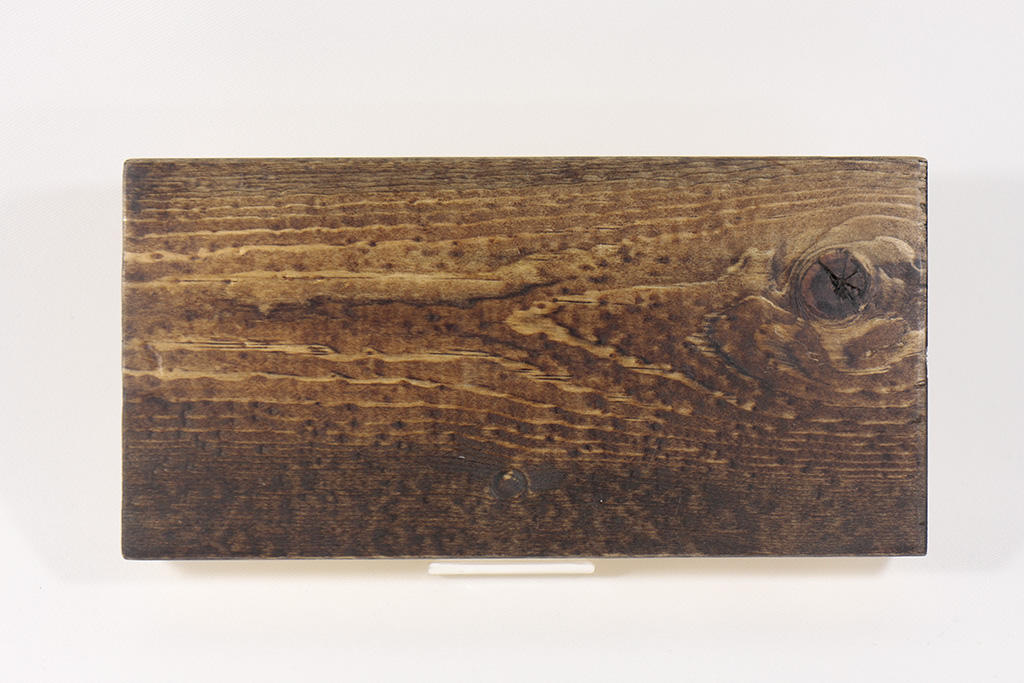
I tested Japanese walnut in the same way.

The area except burl was well “finished”!
It is said that a cup with cold drink makes a mark on oil-finished furniture. I have used to be told I couldn’t do that when I was living in America, but I have never cared in Japan at that time until now. Don’t we finish furniture with oil, do we? I answer in the future post. 😉
Painting a wood hammer (Added on the April 8th, 2014)
I painted on a wood hammer too. This hammer is for leather craft. I’ll write about it soon. I thought this wood must be enough hard to be a hammer, which means the oil should be absorbed evenly. I found later I made a good guess. 😉
This is the brand-new hammer.
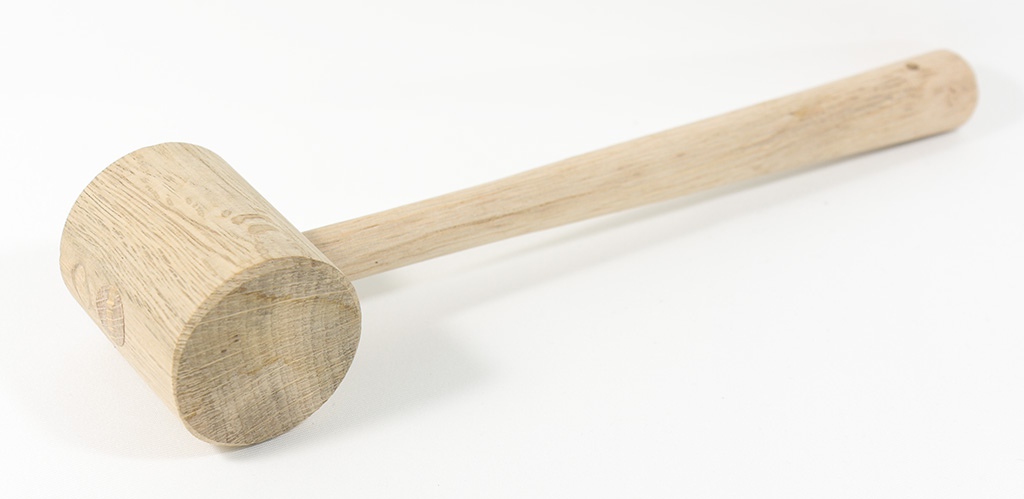
Judging from its grain, this must be oak.
This is right after painting.
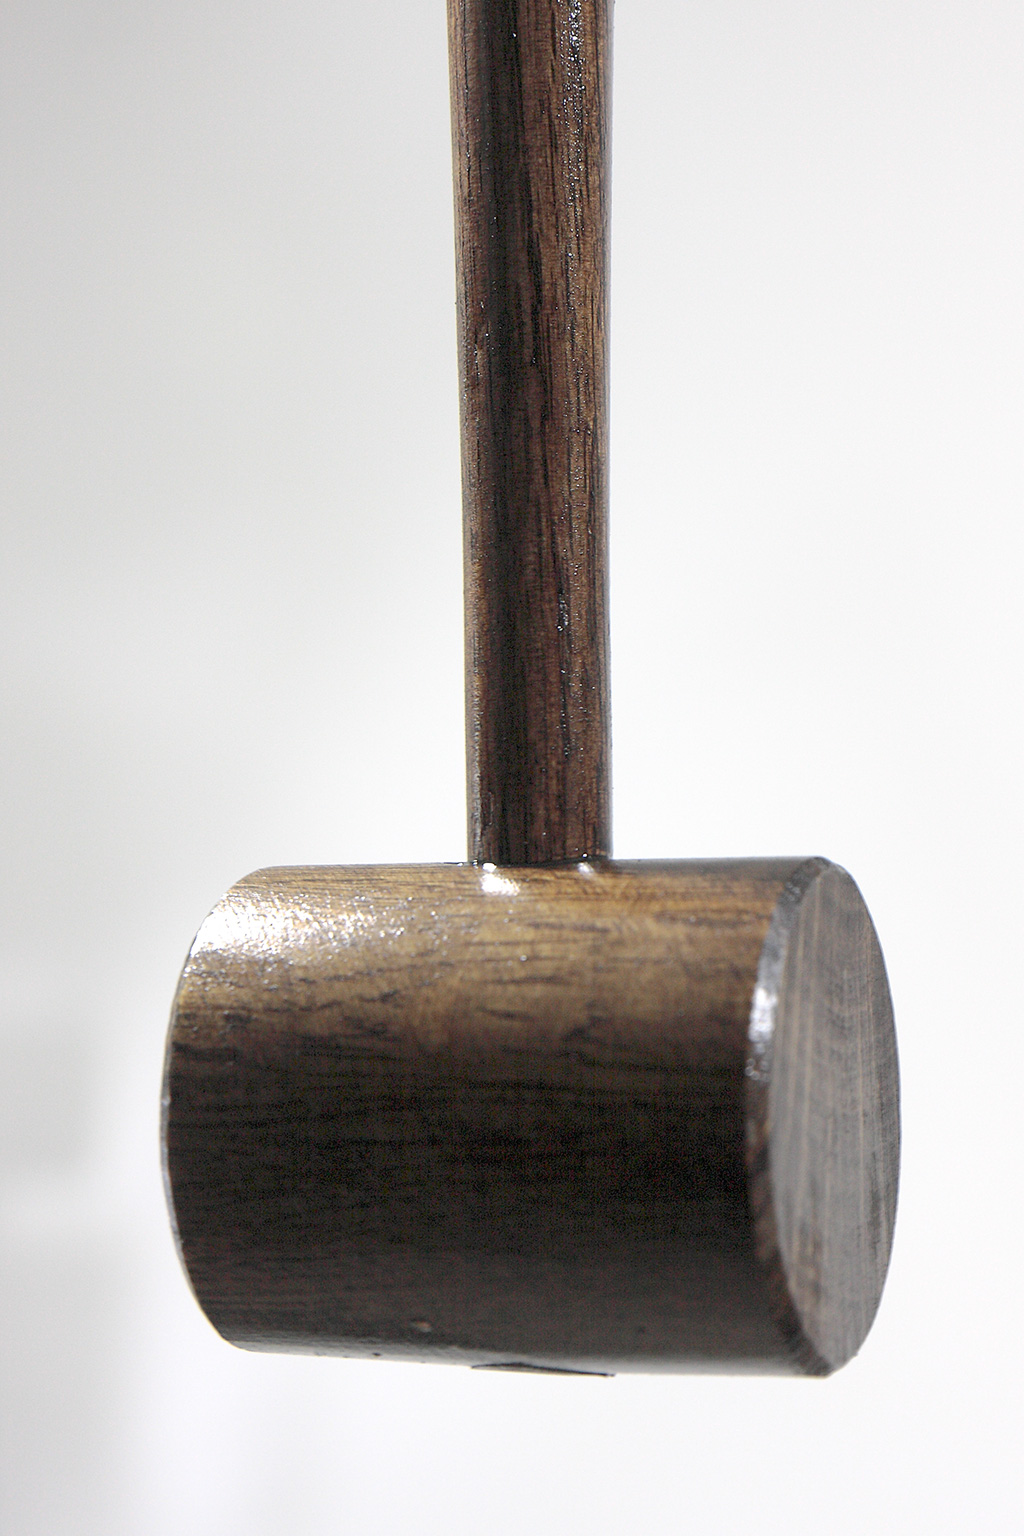
The hammer is reflecting light a lot.
After wet sanding, the hammer was like this.
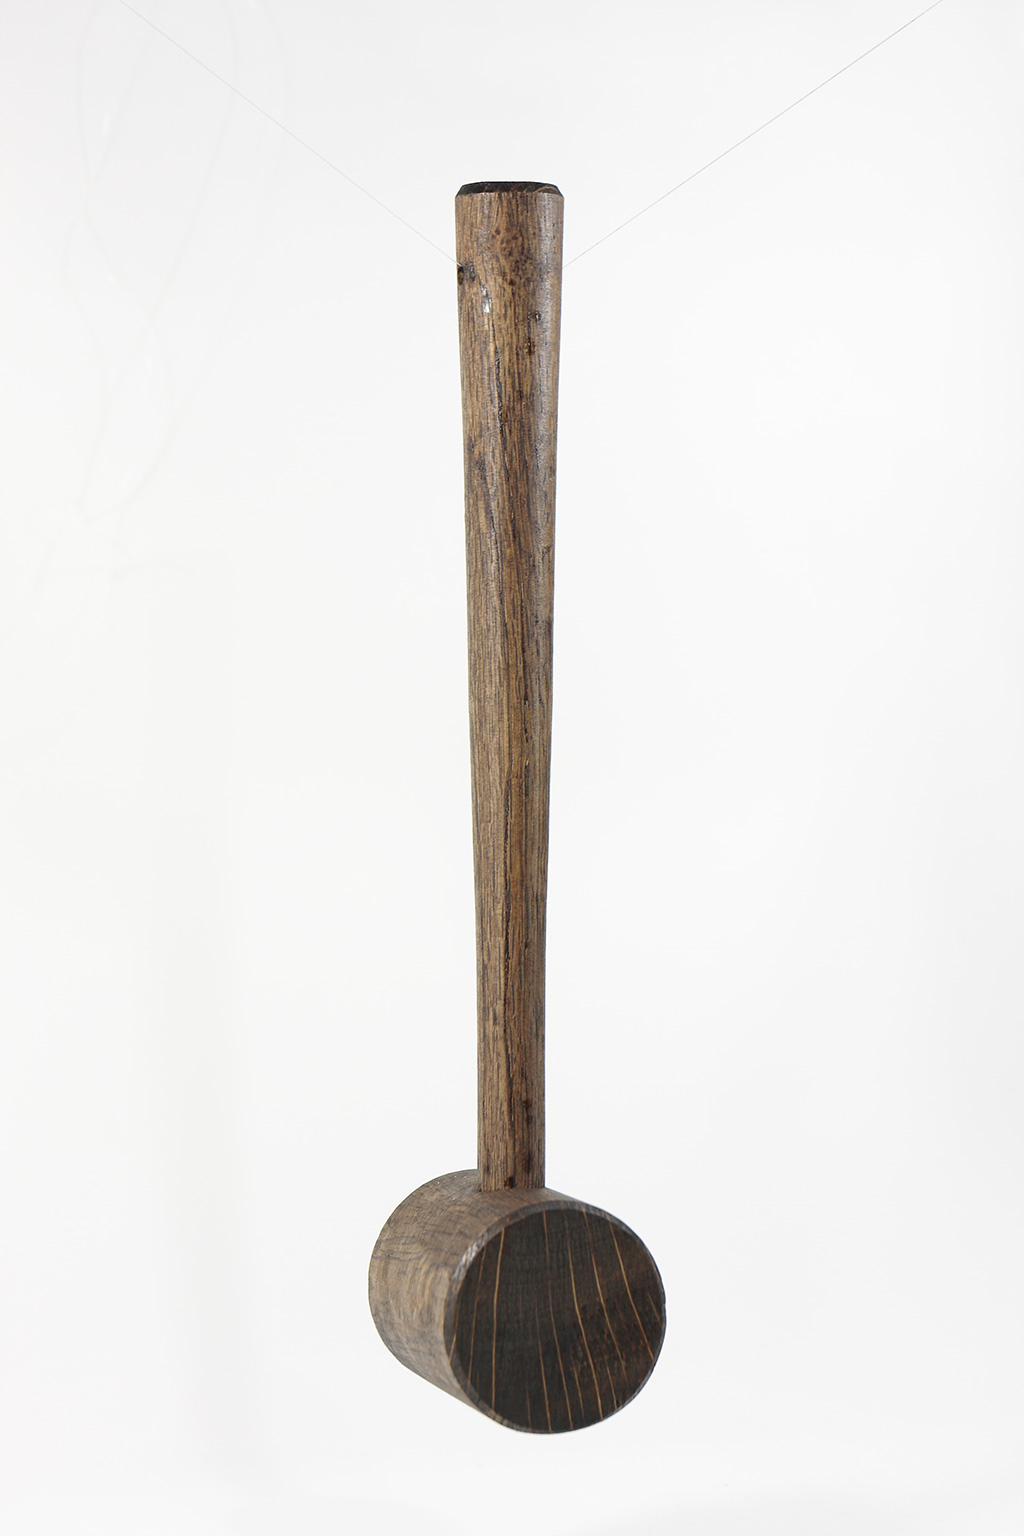
The oil looked to be absorbed.
1 day later.

There was less reflection of light. When I touched the hammer, nothing sticks. The hammer had a little bit moisture and smelled like Watco.
10 days later
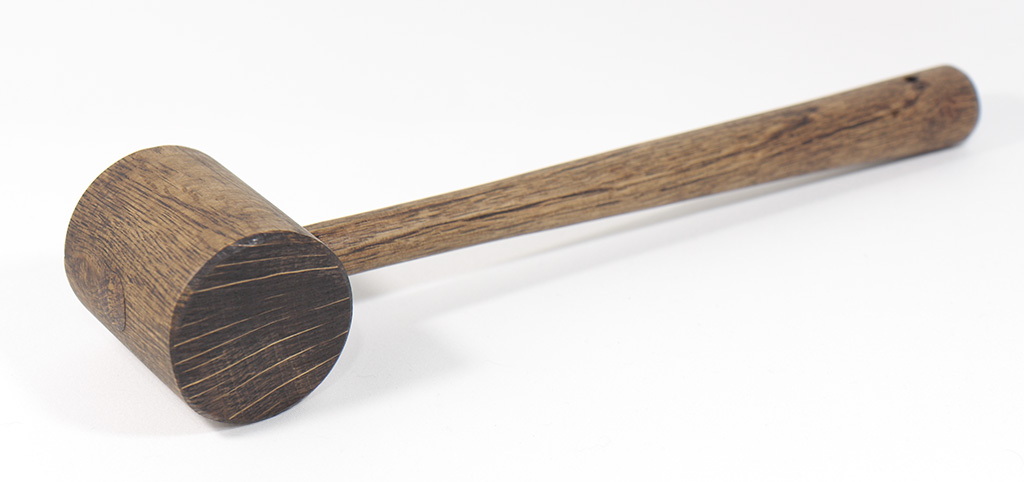
There was no more moisture and smell.
If you are interested in this post, check all posts of “Creative Activity”. For example, I posted these articles.
- The beginner is oil-finishing with Watco
I found Watco by chance in the store. I thought the word “oil finish” sounds like craftsman-like, and something craftsman-like would make goods better, which was a lighthearted attitude. - A total beginner started to learn paintings for woodworking
As I processed Raspberry Pi cases and dimmer, I thought using wood would be a good idea because wood can be bought easily at fewer prices. Also making furniture is one of my goals. This is why I started to learn paintings. - Making and studying an Akizuki Triac Dimmer (speed controller) and case processing
I made a “multi-purpose dimmer with a triac” sold at Akizuki Denshi. There were many troubles because I am a beginner. I needed not only to solder but also making new holes on the circuit board and process a Takachi case.
This post is also available in: Japanese
Leave a Reply